As the iPhone vs Film trend took over short-form video last week, I decided to dive a little deeper to explore what makes film more exciting than digital iPhone photography.
Any well-versed photographer will likely scoff at an iPhone photographer’s misunderstanding of film, but if you’re like me and your first camera was a smartphone, then there are a lot of differences to unpack.
- Sensor – Silicon chip that captures images in digital cameras. It can vary in size, but typically larger is better.
- Film – It usually comes in rolls. Standard photography cameras use 35mm film, but it can be larger or smaller.
- ISO – This determines how sensitive your sensor or film is to light. Shooting at higher ISOs allows you to take pictures in dark areas, but it can also make your images more grainy.
- Aperture – This number controls how wide the lens opening is. An aperture of F/2.8 is a very wide opening, while F/11 is a small hole for the camera to see through. This can control the amount of light coming into the sensor/film and how much blur you want in the background.
- SLR – it’s like DLSR without the D(igital). So basically the purest form of a mechanical camera and everything is manual.
I want to get into film photography. Where should I start?
The film I used for all these comparisons was Cinestill 800T.
Film is super trendy right now, and editing apps like VSCO that can apply film-inspired presets to images have been popular for years. However, if you’re like me and started your photography journey digitally, you likely have a lot of film-related questions.
Question one: I want to shoot film. Where should I start? The answer to this one starts with ensuring you have a lab near you that can develop film. A lot of bigger cities still do, but finding one in a small town might be a bit of a challenge in 2022.
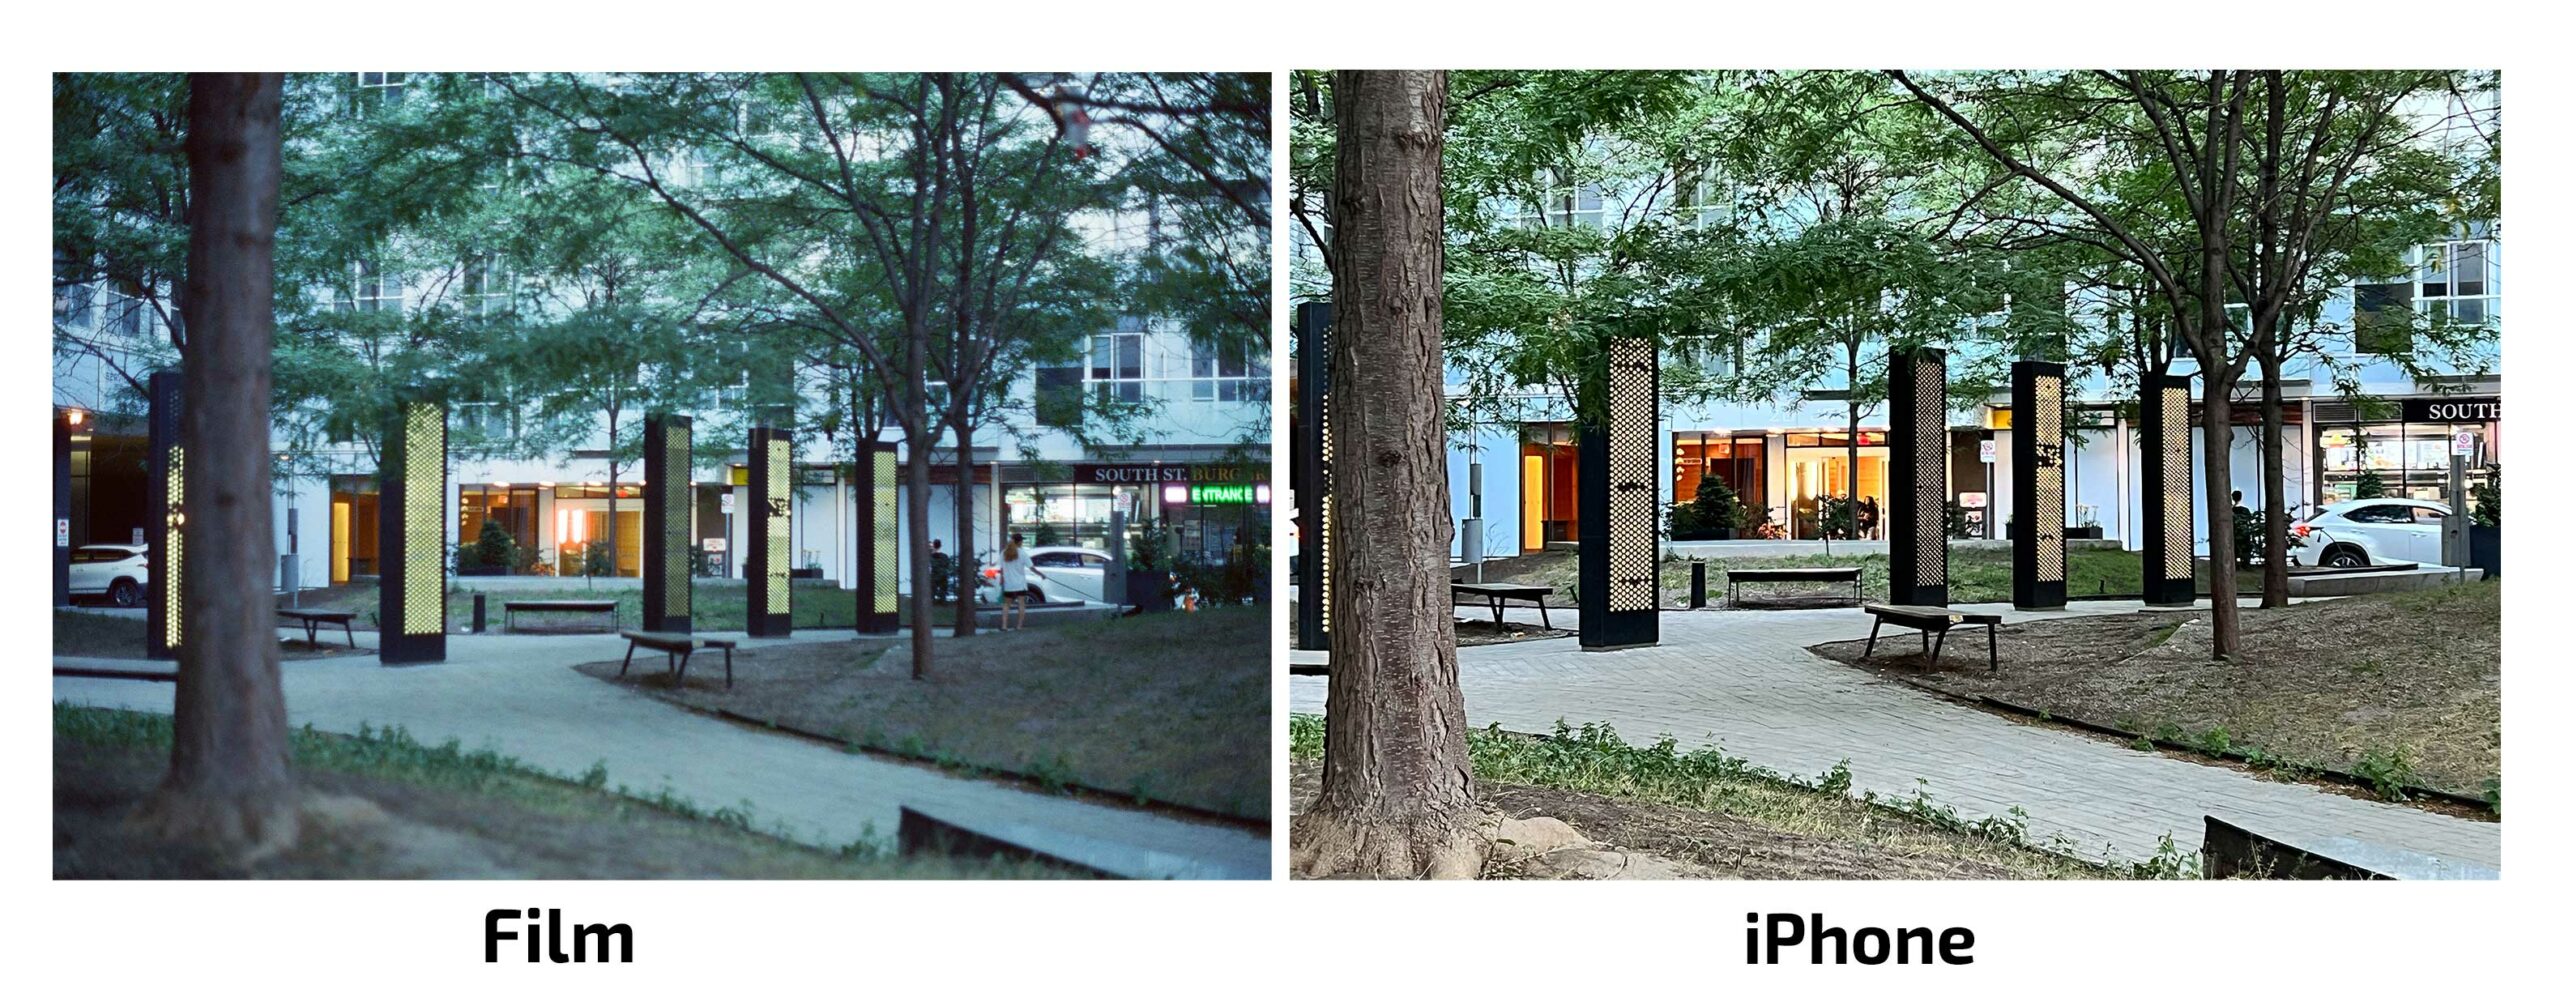
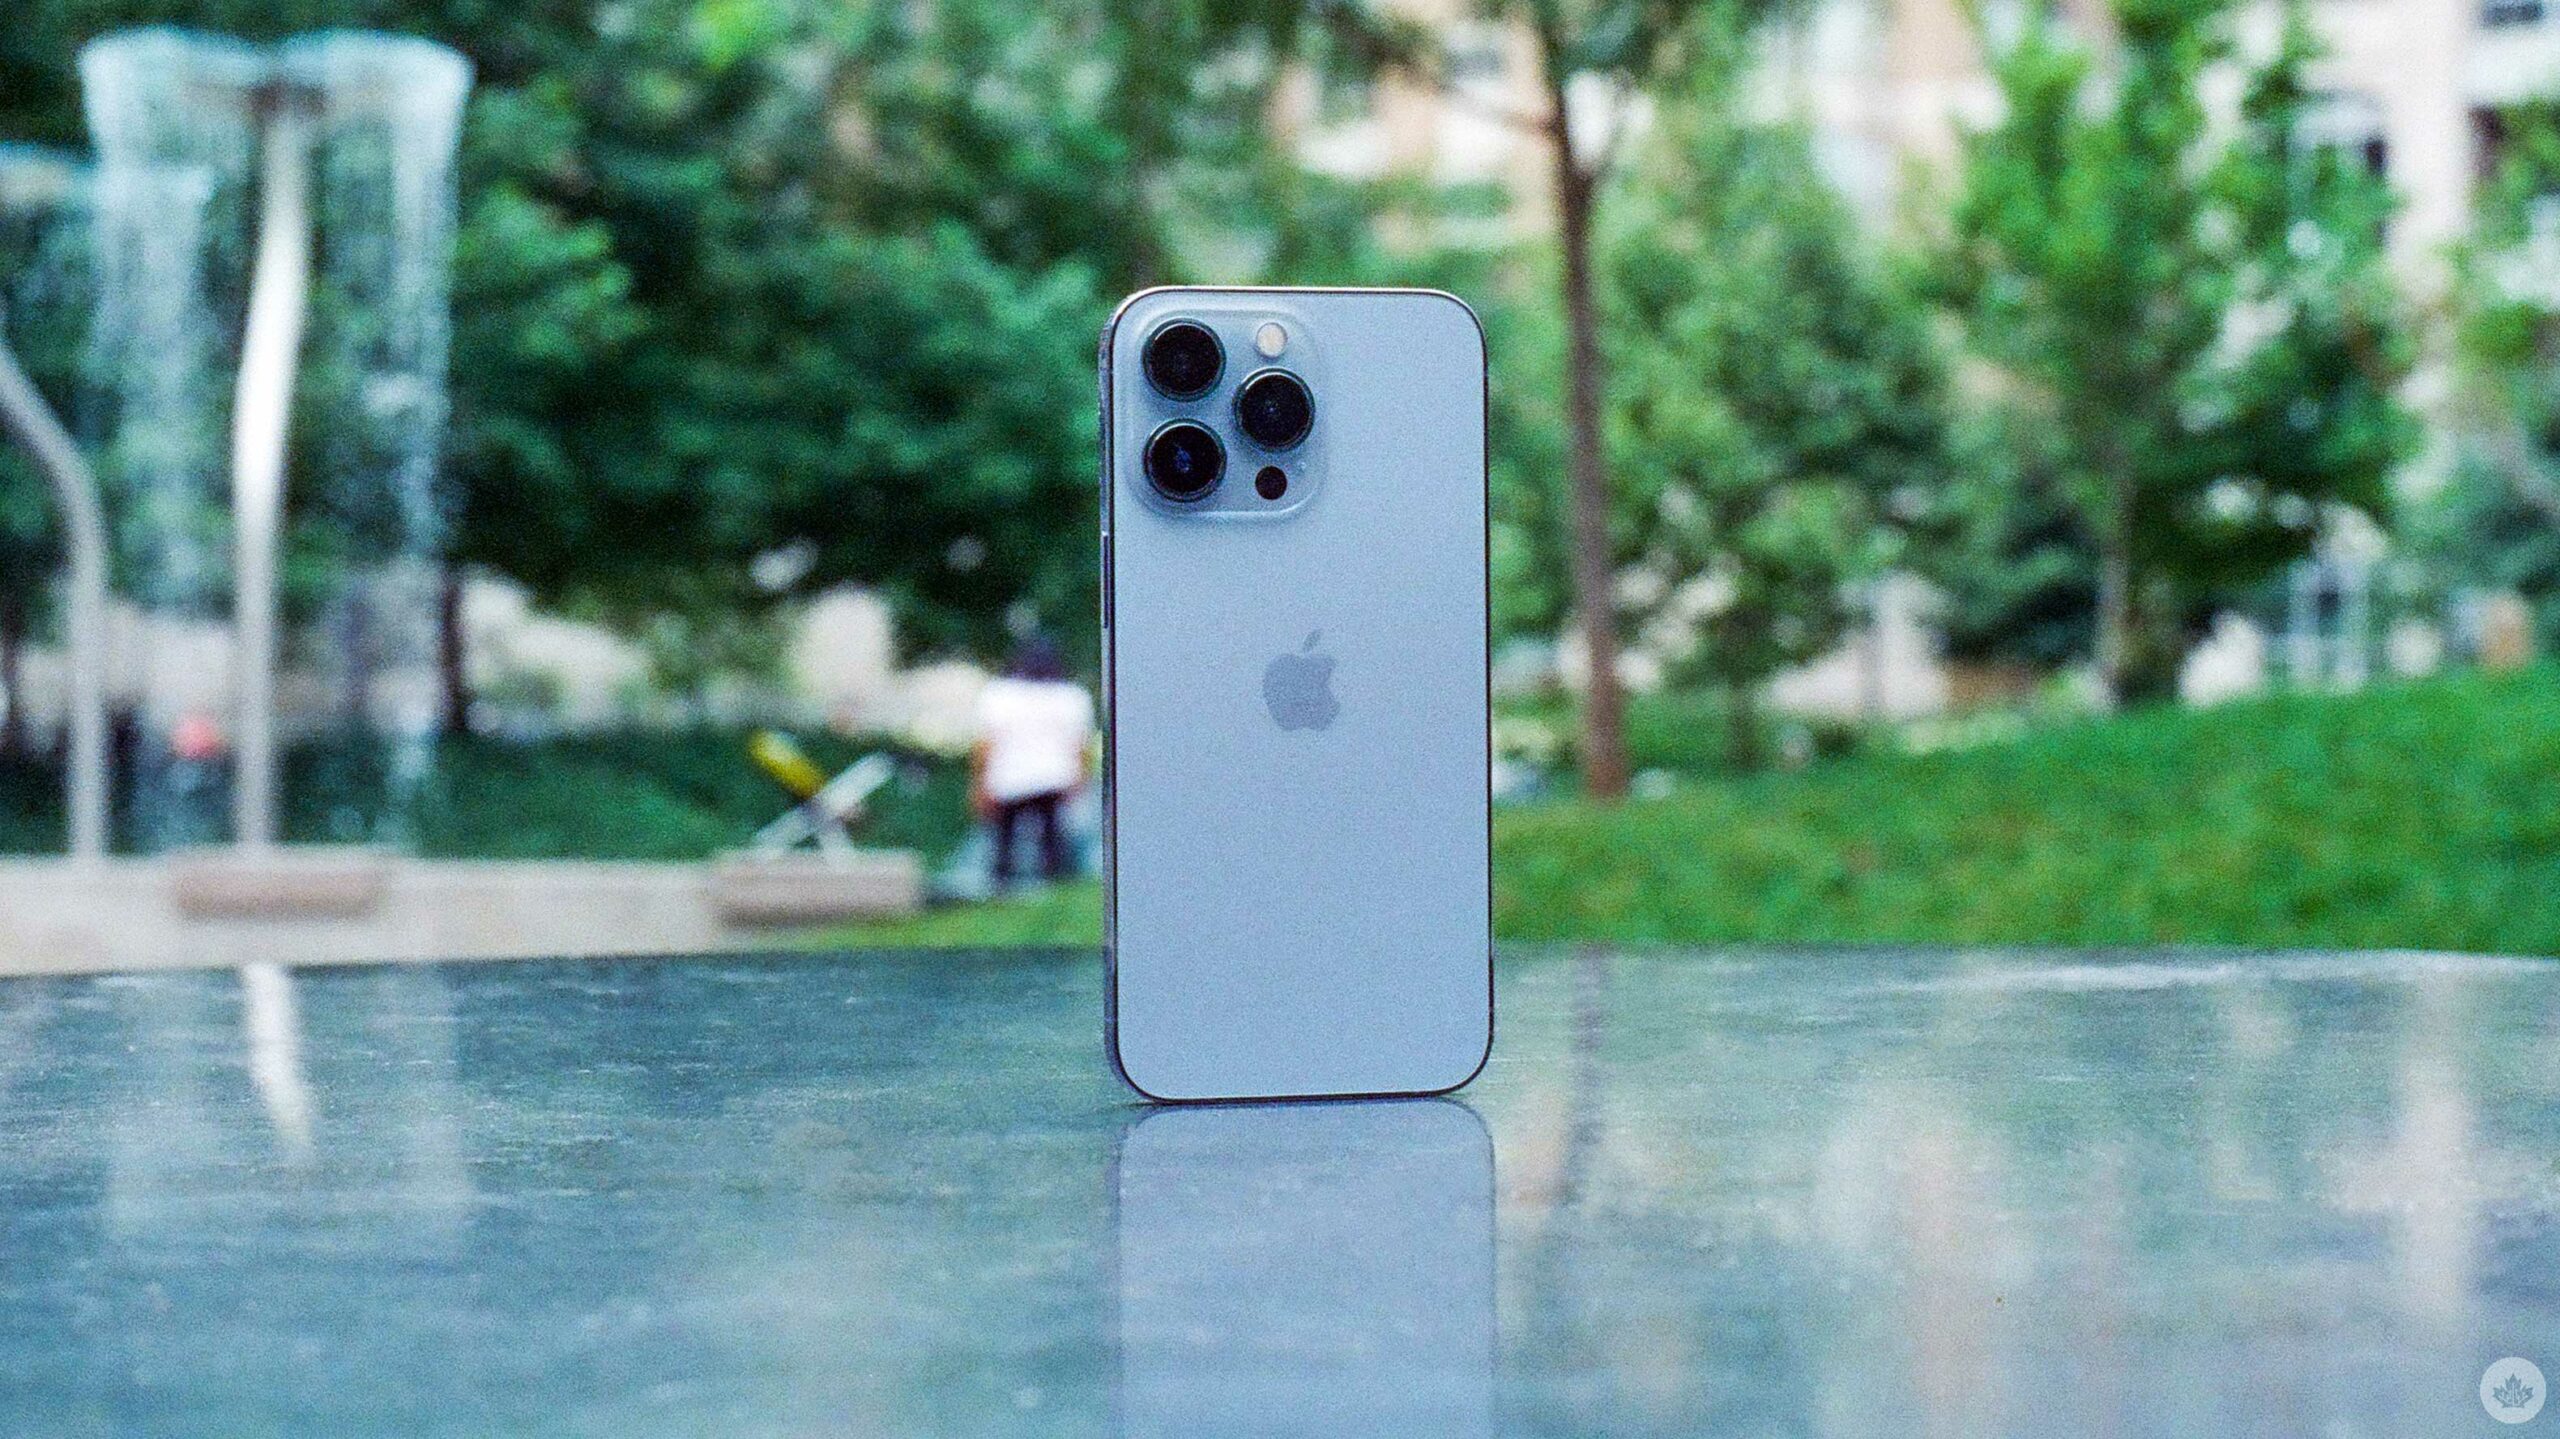
The film photos came from an Olympus OM2 Program. The iPhone is an iPhone 13 Pro.
After that, you must decide how seriously you want to take it. If you want to get some retro shots and not learn anything about photography, grab a disposable (yes they still make them). If you want to treat yourself, a point-and-shoot camera from the early 2000s is your best bet. These have a lot of modern conveniences like autofocus, they’re small, easy to use and you can load them up with whatever cool 35mm films you can get your hands on. Plus, they’re easy to find online for less than $100.
If you want to take it up a level, you could get a larger SLR camera which will offer more lens, better photos and more of a learning curve. Depending on how modern the camera is you’re looking at in this category, it may also have a lot of auto features. For instance, my Olympus SLR has a ‘Program mode’ that lets the camera set the shutter speed and aperture automatically. Yet, I still need to focus manually
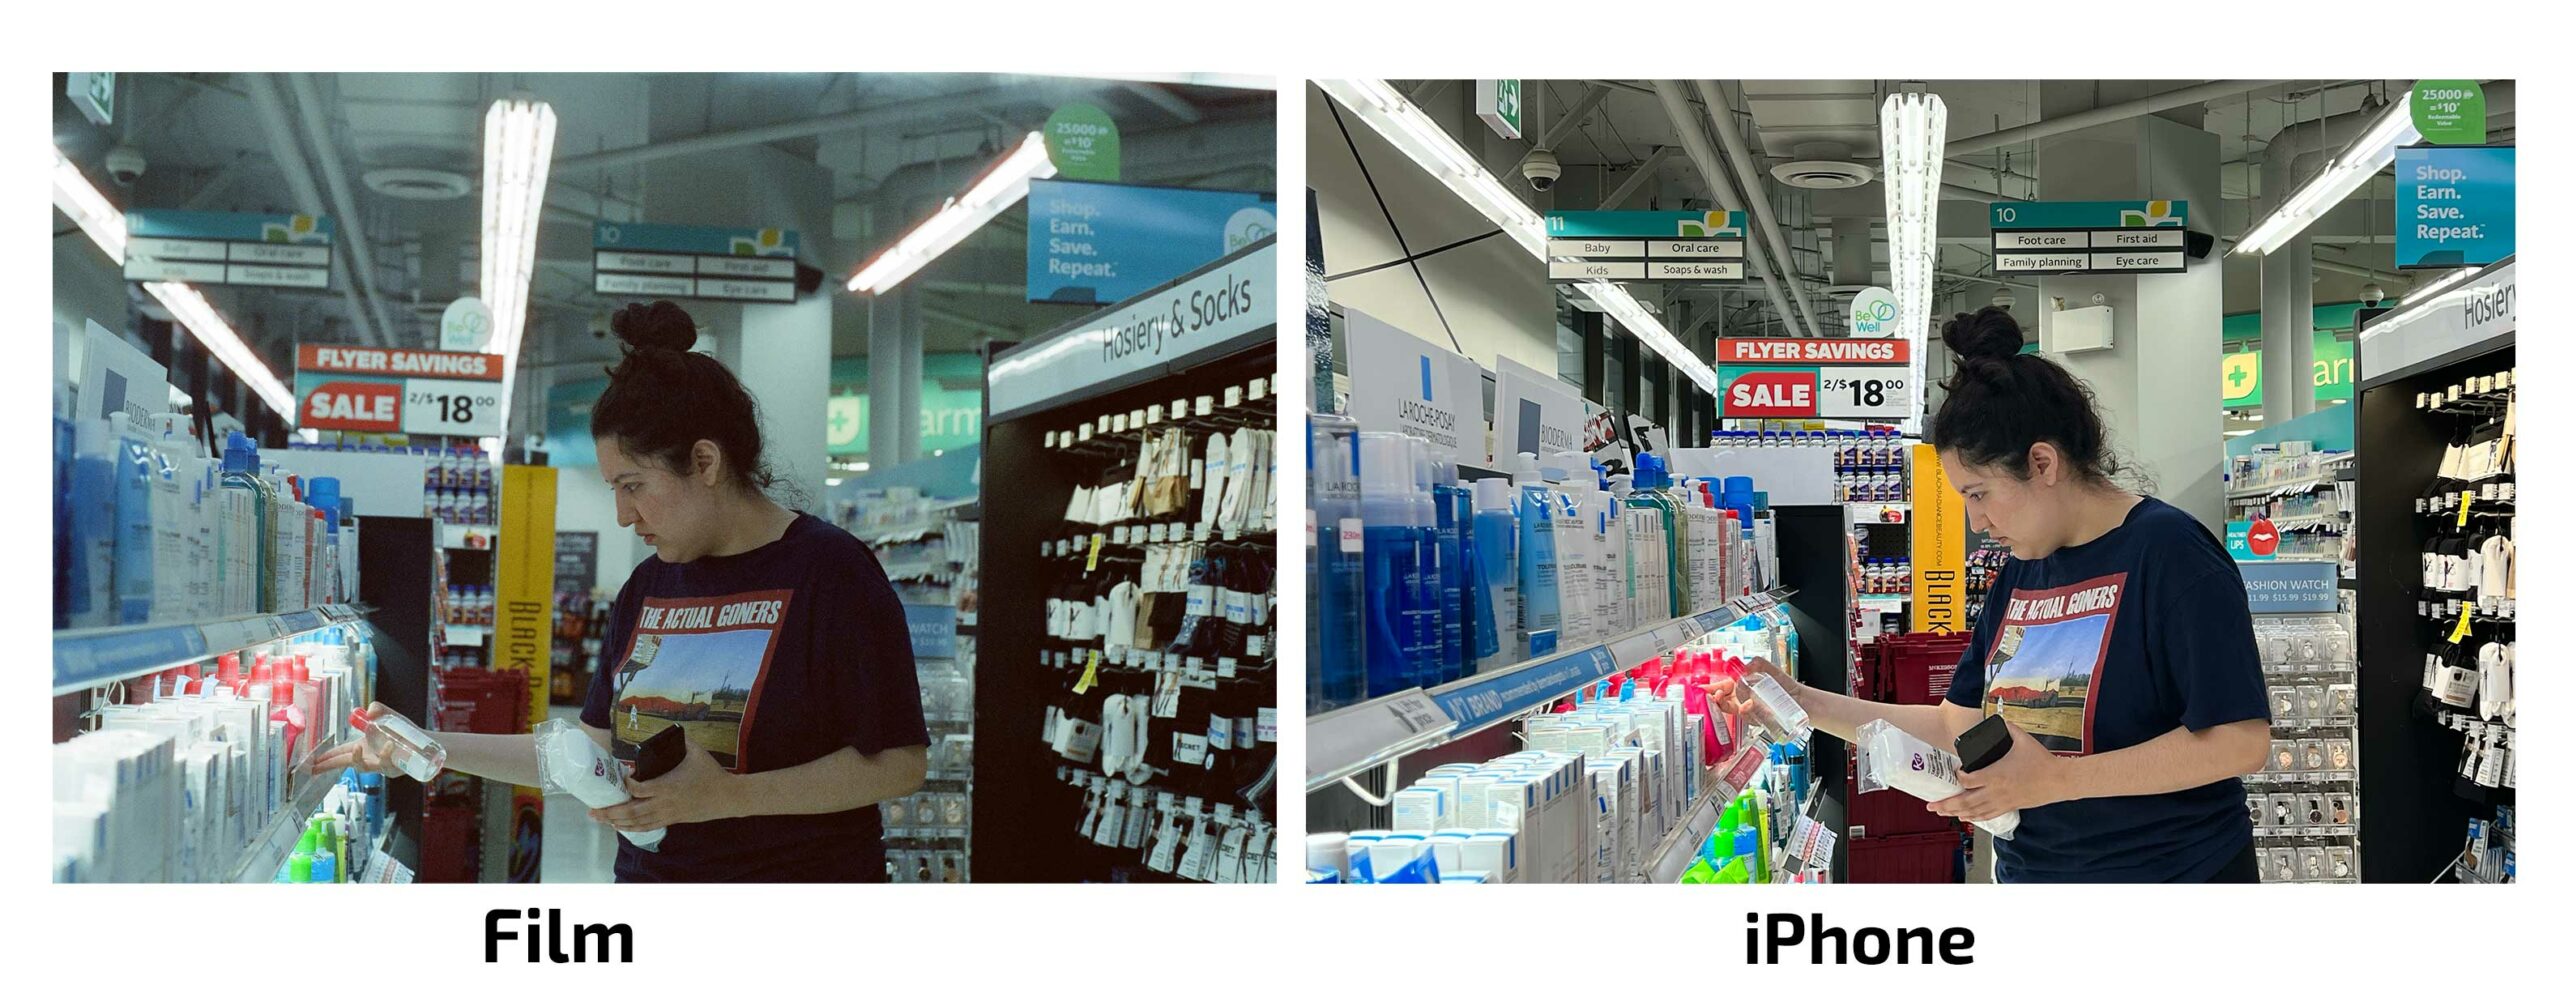
The final beginner tip I’d throw out is just to get your film scans instead of the actual prints. While it feels nice to hold a stack of actual photos, nowadays, all photo sharing happens online, so the scans are way more useful. Also, if you’re just starting out and you’re like me, if you get prints, there’s a high chance that they will be blurry. So seriously, stick with the scans.
Film is cool, but what are its limitations
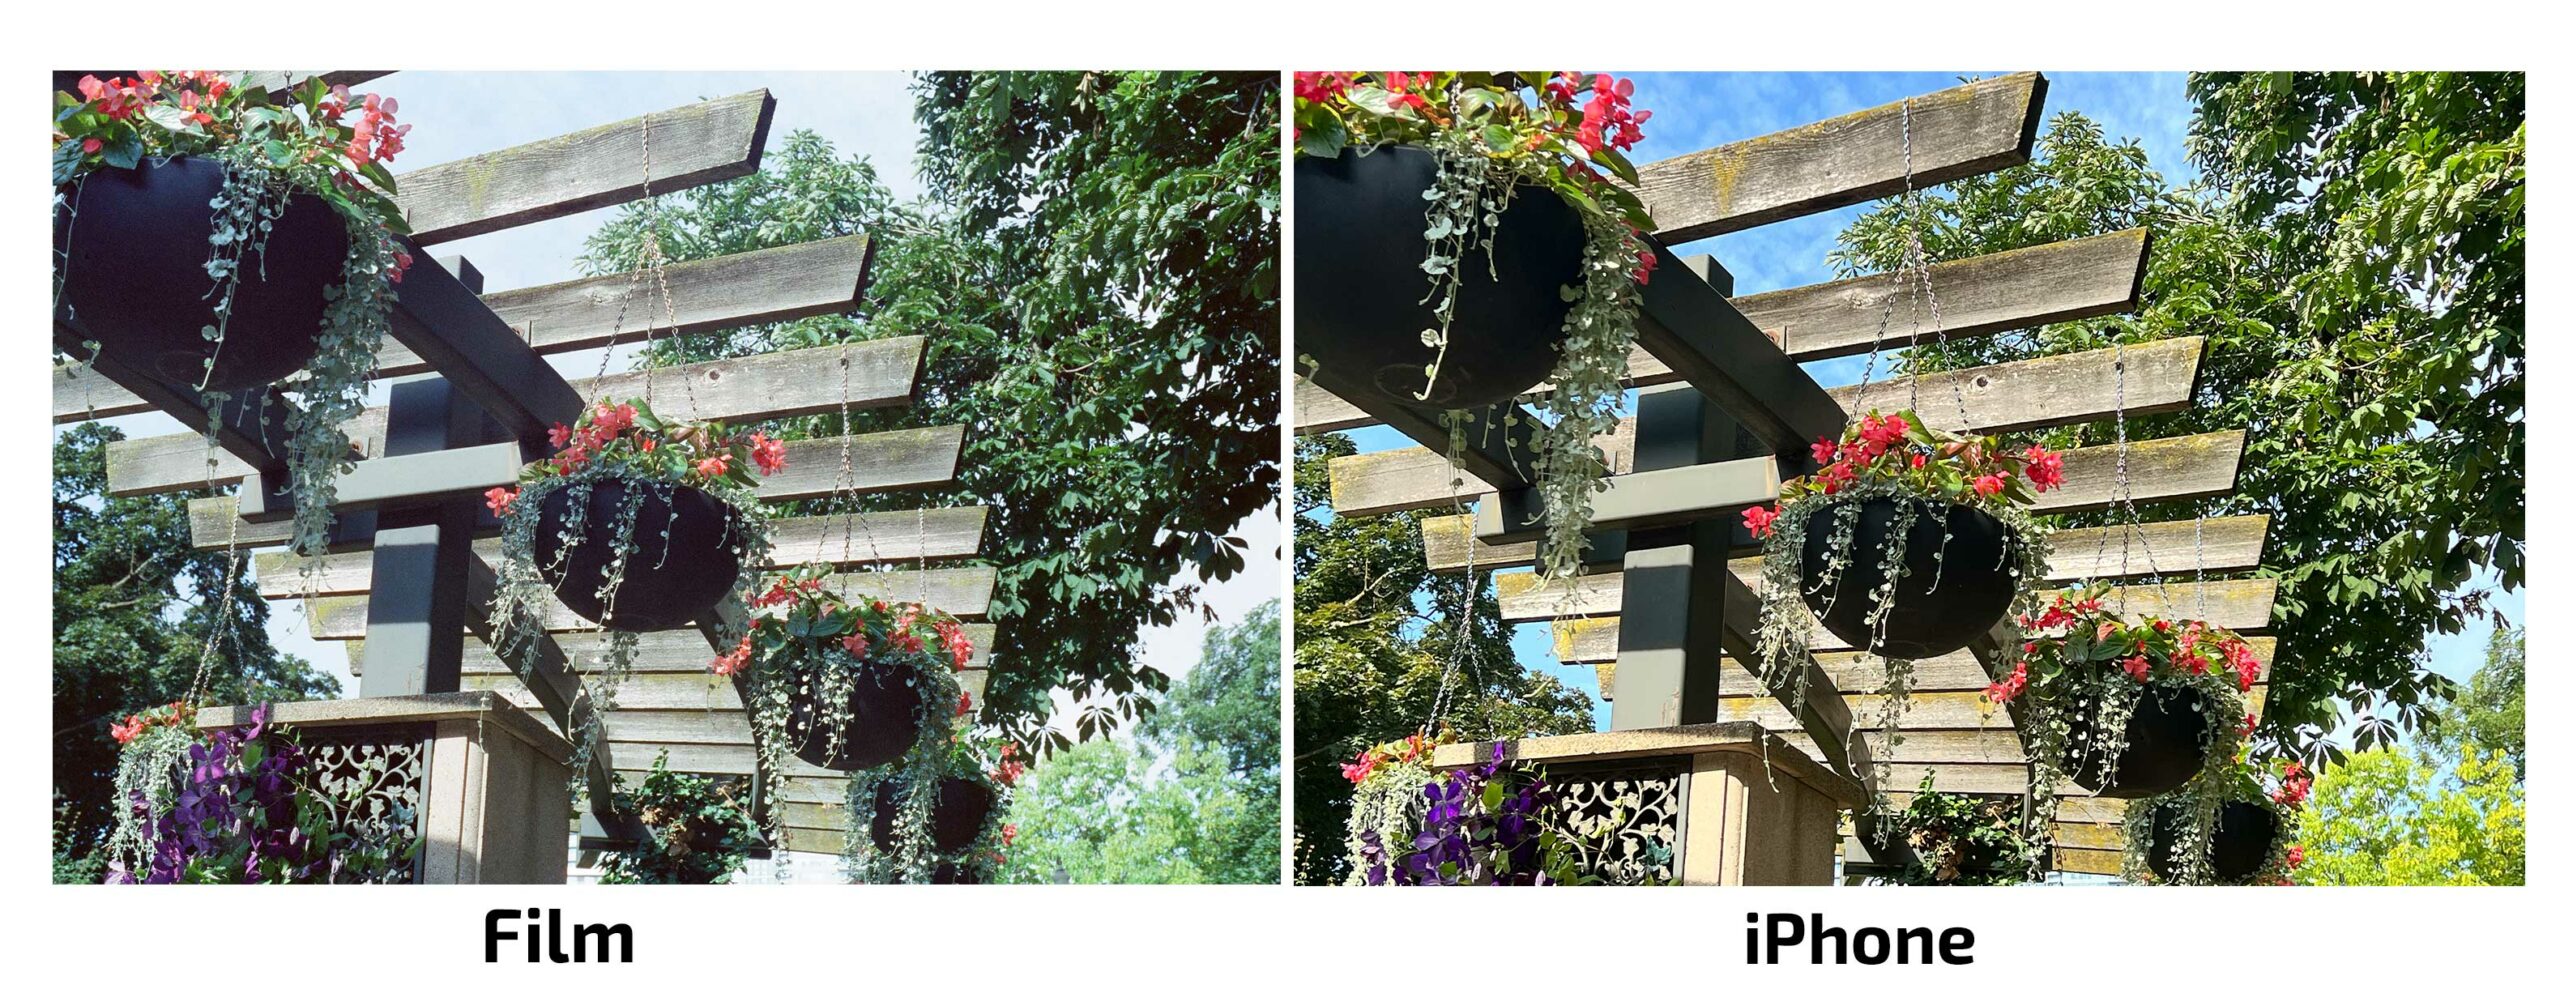
Now that you’ve gotten a film camera, you’ve likely learned about its limitations. First off is the film. As unique as it looks, each film has a set ISO, making it harder to find a film that’s versatile at night and during the daytime. It can be done, but you’ll need to weigh which film you’ll shoot heavily before you start taking pictures.
Beyond just being ISO locked, films are white balance locked as well. This does help you get consistent shots across a whole roll, but if you’re shooting film that’s balanced for tungsten lights as I did, you might get some interesting colouring.
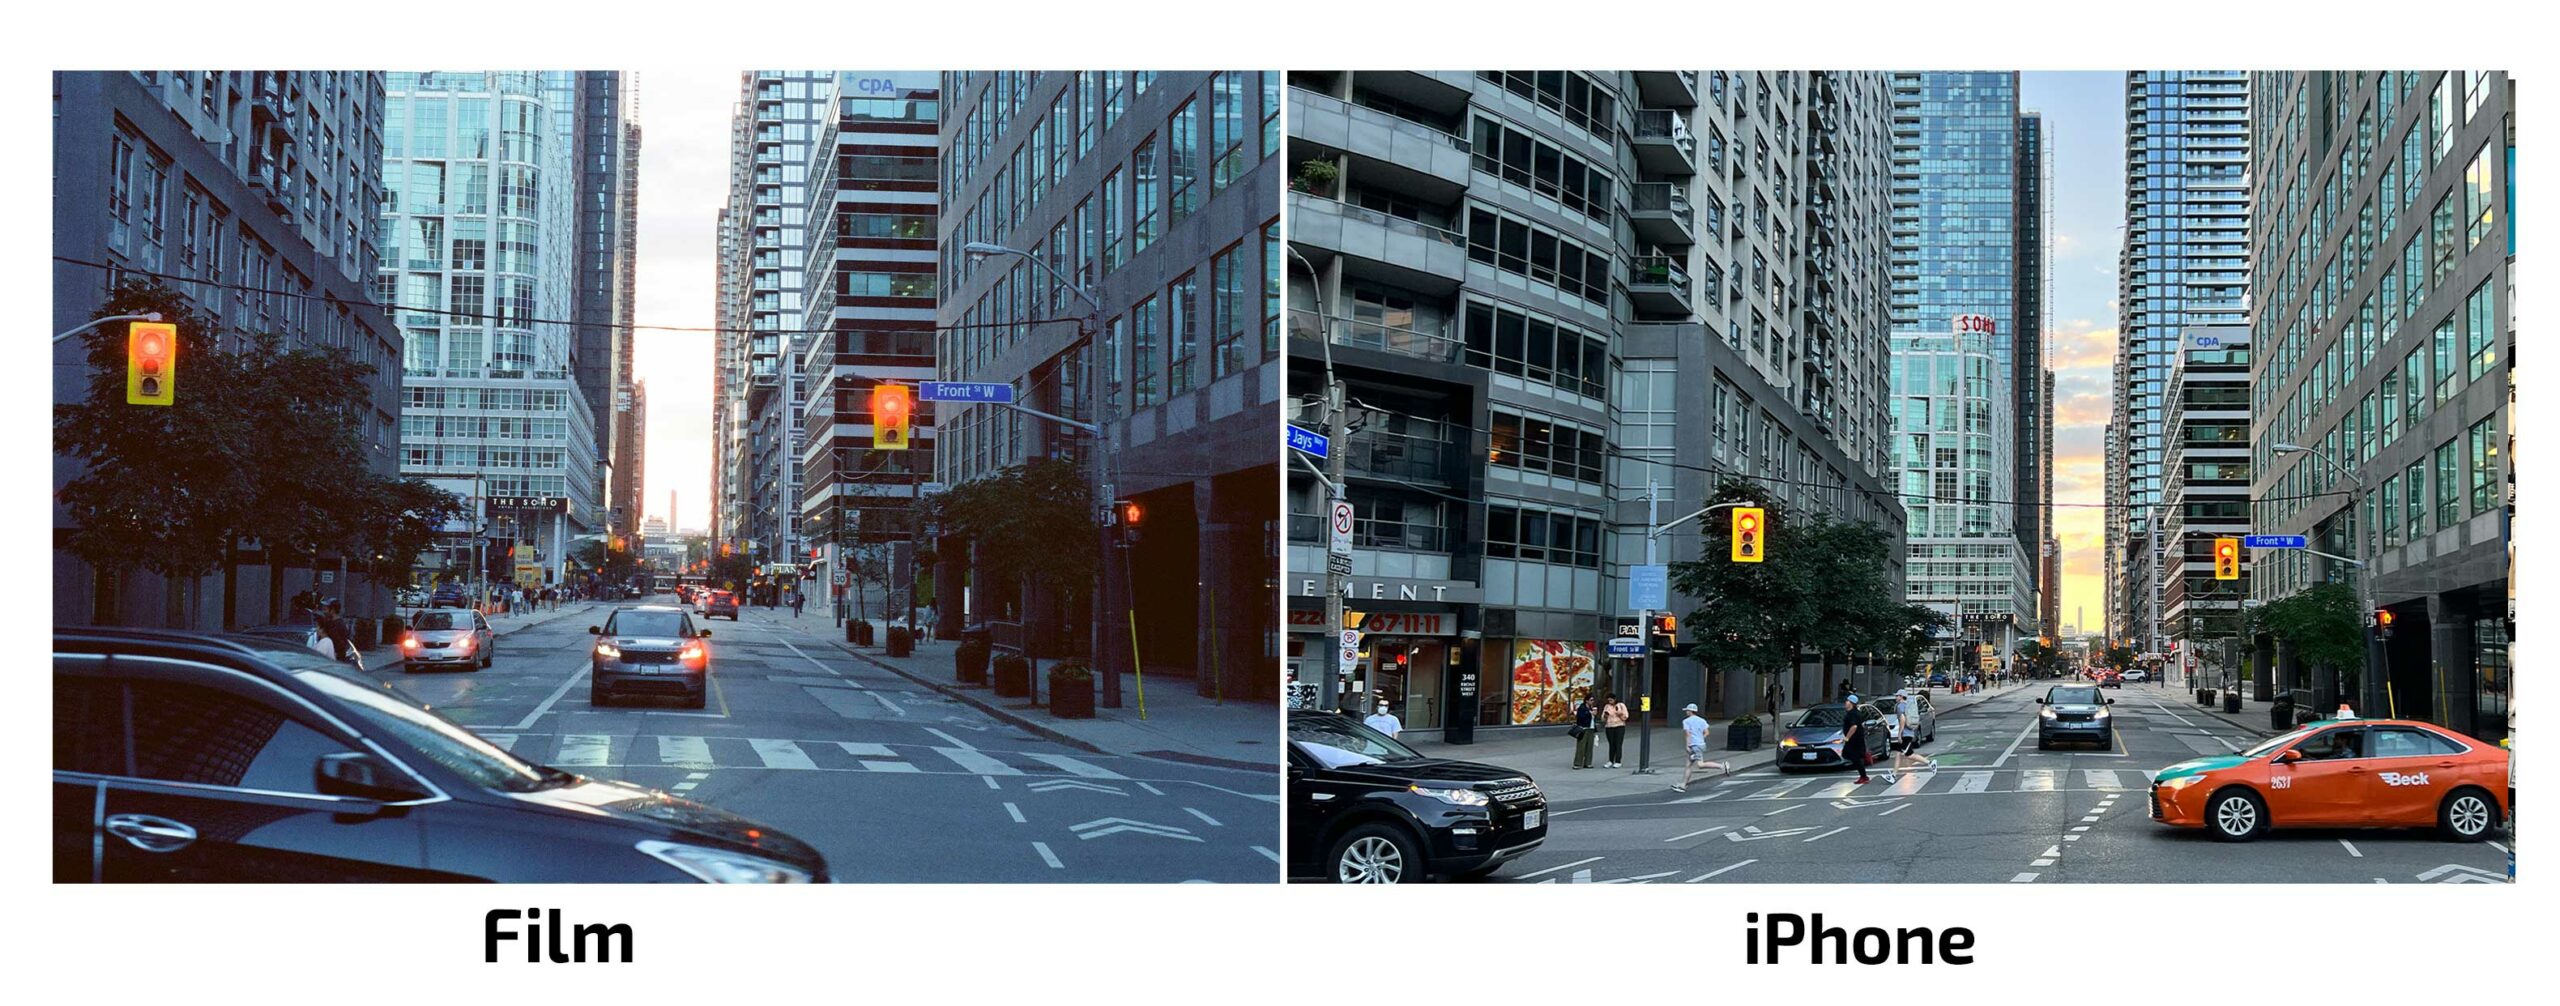
The most common limitation (I like to look at it as a challenge) is that each roll only has a limited number of shots. Most 35mm films have 36, but if you get a medium format camera and shoot the larger 120mm film, there are usually between 10-15 shots per roll.
The final challenge is waiting and getting it developed. I use a lab in Toronto that generally does same-day processing of colour film, but even then, the wait does make it a bit trickier to learn when you’re starting out. With a phone, you can see how a shot will look before you take it and adjust accordingly. With a film camera, you won’t see if that photo turned out for hours at the least and days or months at the most. I can’t deny that getting a batch of photo scans dropped into my email does feel like my birthday every time, but the immediacy of digital is impossible to beat.
Other things I’ve learned
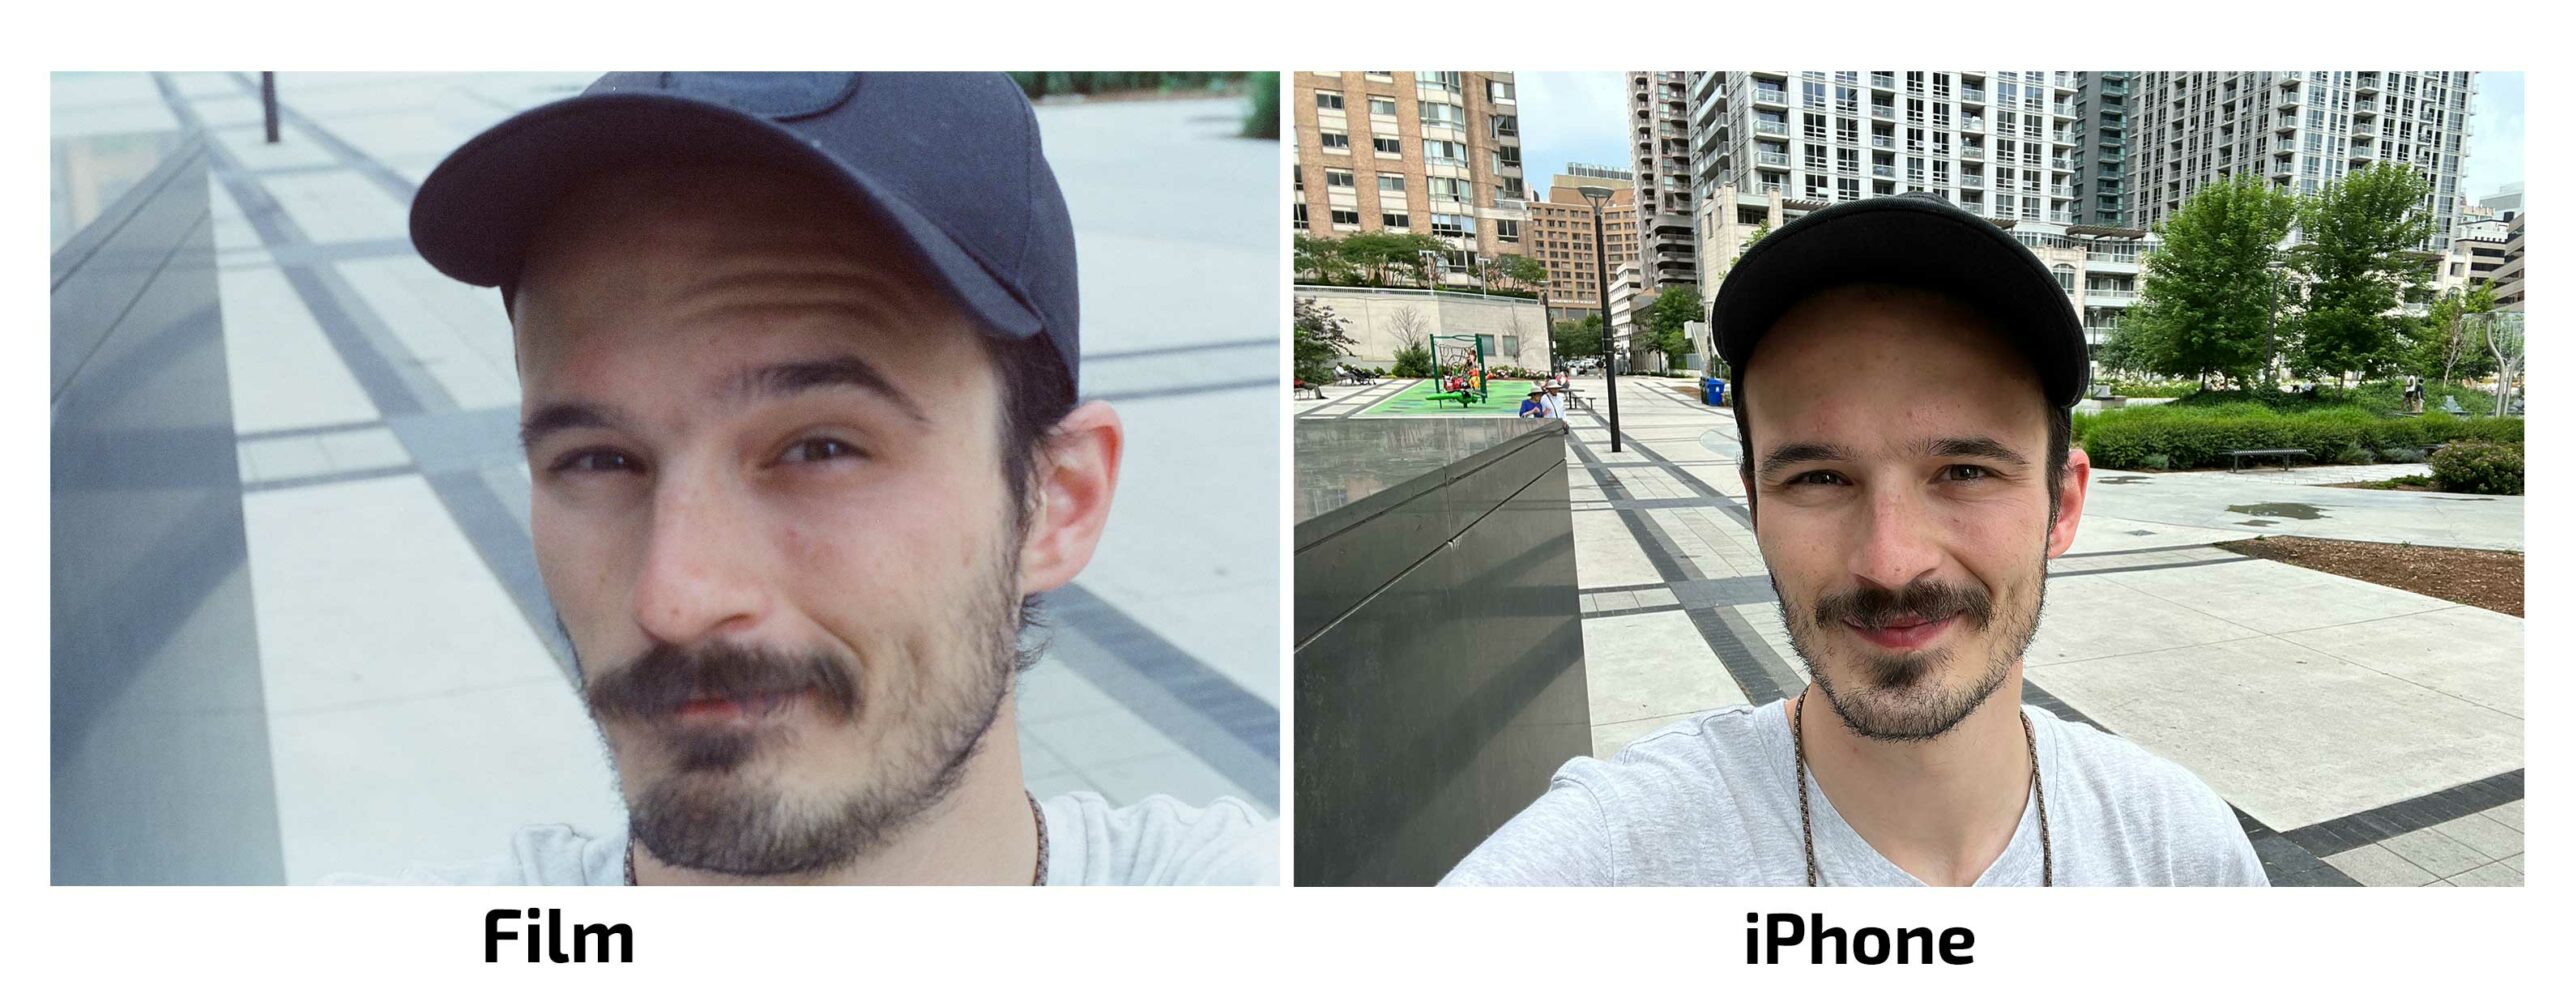
Finding a film you like is a long trial and error process. Try not to be too picky and just try lots of different options. While there are not as many to choose from as there used to be, there is still a lot to experiment with. I started with Fujifilm since that’s what brand my mirrorless camera is for work, but after about eight months of shooting, I’m starting to like Kodak way more.
The cameras are a lot of fun if you’re into gadgets since they’re all unique. The point-and-shoot market from the 80s to the early 2000s was hyper-competitive, so there are a ton of options to choose from and learn. For instance, I found a Canon Sureshot at a Salvation Army, and it even can detect when it’s still and it will hold its shutter open for longer as a sort of precursor to modern-day Night Modes in phone cameras. Others have weatherproofing, smarter focusing buttons and more.
You need to be way more steady with film. I’m used to whipping up my phone, snapping a shot and jamming it back into my jeans with lighting speed. But with film, the process involves a lot more focus, even with my modern(ish) point-and-shoot cameras. So now, whenever I shoot film, I make sure to plant my feet and hold my position until I know for sure the image is captured.









Discussion about this post