Garmin watches are like onions: you need to peel down several layers of settings to get to the good stuff (and then cry from the hard workouts).
Every time I switch from Garmin to another watch brand, I end up missing just how comprehensive and thorough Garmin Connect is, really giving me a complete guide to my fitness training.
I’ll also be the first to admit that Garmin Connect is a dense, convoluted app where the information and settings you need are buried and poorly explained without a ton of Googling. Not to mention the fact that you need a second app (Garmin Connect IQ) to add new apps and custom watch faces, and that changing settings on a Garmin watch itself is just as convoluted.
Sunday Runday
In his new weekly column, Android Central Fitness Editor Michael Hicks talks about the world of wearables, apps, and overall fitness tech related to running and health.
When you first set up your Garmin watch, the app thankfully walks you through a few key steps: adding music, Wi-Fi, Garmin Pay, emergency contacts, syncing to Strava, and LiveTrack. But after that, you’re basically left to fend for yourself.
For new Garmin watch owners — or prospective buyers wondering what the fuss is about — here is a set of Garmin tips and tricks when it comes to taking full advantage of your new watch! Note: some features are limited to newer Garmin watches.
Finish setting up
If you’re anything like me, you’ll probably skip a lot of the complicated Garmin watch setup and plan to get back to it later. Then you’ll get bombarded with pop-ups asking, “Now do you want to set up Garmin Pay?” Spare yourself the daily annoyance and finish setting up every core feature.
In the Garmin Connect app, tap the watch icon on the top banner, then select your current watch (or sync it if it’s disconnected). Your first option will be Finish setup, which guides you through the aforementioned features like adding Wi-Fi and safety features.
Or, if you’ve already completed setup but want to change things after the fact, you’ll find these features in the same watch Settings menu; Garmin Pay and Music are obvious, while Wi-Fi is under Connectivity and Safety & Tracking lets you change your Emergency Contacts or enable LiveTrack.
Change your goals
When you first download Connect or set up a watch, it’ll prompt you to set goals for your daily steps, weekly intensity minutes, or daily floors climbed. You can also find these goals by tapping the watch settings icon > Health & Wellness.
For steps, you can set it to use an “auto average” or set a specific goal like 10,000 steps. Auto average changes based on how many steps you typically take on a given day, subtly adjusting higher if you match or surpass the goal or lower if you fail to hit it. An auto-updating goal will push you to improve but may climb too high for you to hit; at that point, you may want to switch to a manual goal once you know what you’re really capable of.
For weekly intensity minutes, the World Health Organization recommends adults aged 18–64 hit 150–300 minutes of moderate activity or 75–150 vigorous activity to stay healthy. So let’s say you choose 250 minutes as your target: Garmin will automatically use heart rate zones to determine if an activity is moderate (zone 3) or vigorous (zone 4+) and double the logged minutes if your heart rate is high enough. You can change these, such as making zone 2 moderate or making only zone 5 “vigorous,” if you want.
I also recommend checking your actual heart rate zones. Go to your watch settings > User Profile > Heart Rate & Power Zones. Here, you can adjust your max heart rate, lactate threshold, and five HR zones.
Garmin can only estimate your max heart rate based on your age and fitness, and your lactate threshold — the level at which lactate builds up in your blood due to physical exertion — gets higher the fitter you are, according to this UVA School of Medicine study.
So you should perform a stress test to determine your personal health values. I followed this guide by Training Peaks and found my average heart rate at max effort over the last 20 minutes of a 30-minute activity to calculate my LTHR, then adjusted my zones accordingly. Eventually, Garmin will gather enough data from your workouts to give you more accurate post-run info.
Set up a training plan
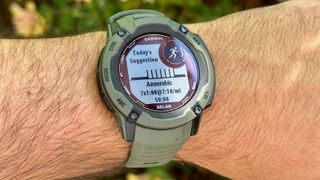
Most recent Garmin watches have daily suggested workouts that recommend how long and hard to train, based on your recent training data, VO2 Max, recovery time, and sleep data. While useful, these workouts lack context if, for instance, you’re training to hit a certain distance or time; and they don’t account for your daily life and schedule.
Runners and cyclists may want to set up an actual, official training plan instead of relying on the algorithm. In Garmin Connect, go to More > Training & Planning > Training Plans.
Runners will choose a 5K, 10K, or half marathon plan based on how many miles they run a week, their goal (whether to merely finish a race or hit a certain time), and which style of Garmin Coach they want. Cyclists will aim for a specific mileage goal like Century or Gran Fondo, a time trial goal, or to improve their mountain biking abilities.
You can also download custom, self-guided Garmin Connect training plans not available through Garmin Coach, such as a marathon training plan or triathlon training. On the web, go to this Garmin Connect link, choose a plan, and add it to your schedule.
Once you’ve set up a Garmin Coach training plan, daily workouts will appear in the Calendar on your app and watch, so you can see how rigorous today’s workout will be ahead of time. Some newer watches, like the Garmin Forerunner 255, even have a Morning Report that gives you that info as soon as you wake up.
Create your own workouts
During a suggested or scheduled workout, your watch shows how your current pace or heart rate falls within a target range, buzzing your wrist to tell you if you’re too high or low, or if it’s time to shift to the next part of a workout. It’s a fantastic self-training too, but as I mentioned in my recent Garmin feature wishlist, you can’t easily edit a workout prior to starting it, in case you’re feeling too tired or wired for what the Garmin algorithm is suggesting.
I recommend making your own custom workouts and saving them to your watch so you can access them at any time. Go back to More > Training & Planning and select Workouts > Create a workout. You can set up a run or cycling session, save it under a custom name, and then send it to your Garmin watch by tapping the phone icon.
Once you’re on the activity start screen, hold the Menu button (left-middle) on 5-button watches or the Back button on 2- or 3-button watches. Select Training > Workouts > Custom workout name > Do workout.
I have a few generic workouts saved, like “Long run,” that warns me if I fall below a certain pace, or more specific Track Run training plans for intervals. That way, if I don’t like what’s on the Calendar for the day, I can just drag and drop it to a different day and do my own workout instead.
You’re in luck if you’re more interested in indoor strength training, yoga, HIIT, or other activities than running. On the Workouts screen in the app, you can Find a workout and choose between a ton of workouts focused on completing reps, either at home or in the gym.
Garmin has over a thousand workout types, and they’re animated so you can check on the form before you start a rep yourself. Watches with AMOLED displays like the Venu 2 Plus give you the best experience on that front.
Change your data screens
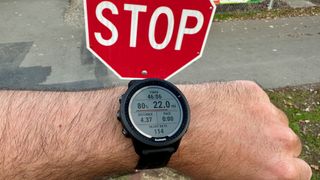
Each sports activity shows essential data on your wrist during a run. For example, the Run activity shows the timer, distance, pace, and heart rate. But you can see a lot more during a run if you want to: heart rate zone, stamina, running power, your running dynamics (aka stride length, cadence), a map/compass, elevation changes, and so on.
You can change an activity’s default data fields on your wrist or in the app; I recommend the latter. Go to your watch settings > Activities & Apps, choose a specific activity, then Data Screens > Add Data Screen.
You can add a default screen themed on specific data (like stamina or elevation), or you can create your own custom screens with up to six fields of data. The latter is especially useful because you’ll find tons of options that aren’t on the generic screens, like real-time charts of your pace/speed/heart rate over time.
You can mix and match data that would normally appear on separate screens, so you’ll hopefully spend less time scrolling through them when you should be staying in the zone. Or you can prioritize less mainstream data fields; for example, you may prefer seeing your Average Pace or Lap Pace instead of your real-time Pace.
Make your GPS tracking more accurate
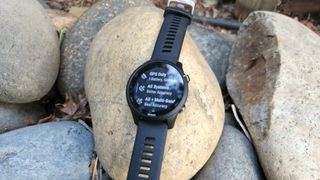
The latest and greatest Garmin watches support all-systems or multi-band GPS, making them the most accurate GPS watches in my tests. Many of them use SatIQ to switch to better satellite data once it detects a signal blockage or delay, but you can choose to always use the highest-level tracking if you want the best possible data at all times.
Hold down the Menu button and select Activities & Apps > Run (or another activity) > Run Settings > GPS and choose All + Multi-Band for the best possible accuracy. If you only see GPS and UltraTrac, your Garmin doesn’t support the newer options.
You’ll probably want to do the same for your Walk or Hike activity, which also auto-selects on some watches. Some will prefer UltraTrac, which takes infrequent GPS readings to save battery; others will prefer something more accurate, especially if they’re using a longer-lived Garmin watch like the Instinct 2X Solar.
Battery life vs. features
You probably chose a Garmin watch despite its lack of traditional smartwatch “smarts” because of its long battery life, among other things. But sometimes, you’ll want to cut into the battery capacity for specific features — or cut back to make it last longer. The GPS setting above is just one example.
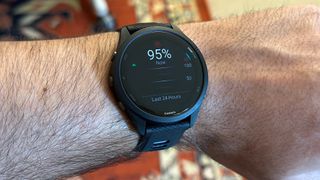
When it comes to blood oxygen monitoring, Garmin is one of the only brands to offer 24/7 checks as a way for athletes to check their altitude acclimation or general health, but you can also set up during-sleep tracking or perform manual spot checks On your watch, hold down the Menu button, scroll down to Health & Wellness, select Pulse Oximeter, and choose either All Day or During sleep if you think your battery can handle it.
If you have a memory-in-pixel display, you may not like how dim the display is, especially indoors; Garmin tends to make 20% the default outside of activities, which is pretty hard to read. Hold down the Menu button, then scroll down to System > Display > General Use. You can change the default brightness, enable raise-to-wake so you don’t have to press a button, alter the screen timeout time to be a little longer, or even make always-on the default.
I’m assuming that your new Garmin watch has a strong battery life and can withstand more demanding settings. But if you’re having the opposite problem and want to prolong your battery, I wrote a guide on how to fix Garmin watch battery problems to help you out. Long story short, you can activate a Battery Saver mode that disables the most common battery-draining features.
Customize your watch face
Your Garmin watch face is what you’ll spend most of your time staring at, so make sure it’s fun (or informative) to look at! Once again, hold down that trusty Menu (or Back) button, depending on your watch’s number of buttons, and Watch face should be your first option.
Select it, then scroll through the generic watch faces available on your watch by default. Select a watch face you like, then choose Customize. You can change the overall layout, which data is displayed, and/or the accent color for the watch face.
The Garmin icon meanings are a little obscure, especially once you’re first starting out and your data is empty. Go to this Garmin support page, change the watch name to your current model, and see (A) which icons are available on your watch and (B) what they mean.
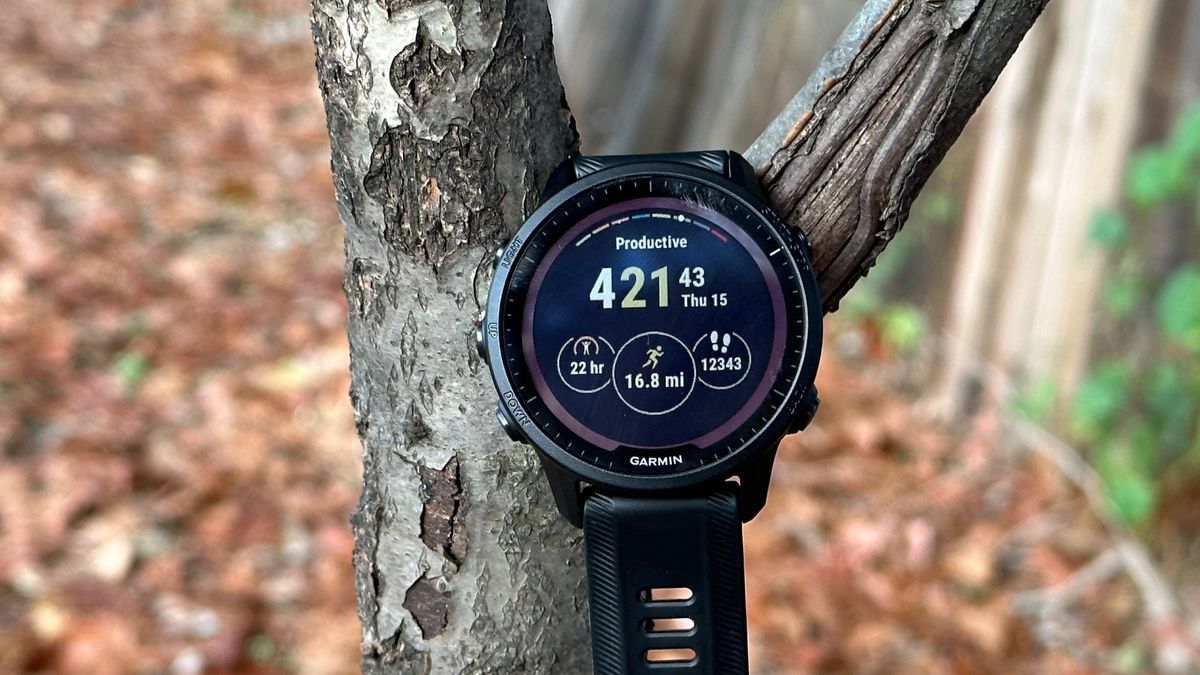
If you want advice, my personal favorites are remaining recovery time (so you know when your body is ready to work out again), step count (duh), earned intensity minutes, weekly running distance, and weather. I’m not a fan of displaying my heart rate or other health data, as the constant update burns through the battery and also gives me anxiety if my heart rate is too high, but it’s up to preference!
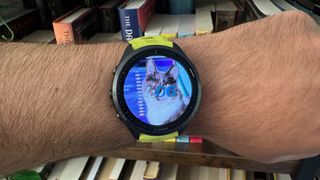
If you want watch faces beyond what Garmin offers by default, you’ll have to download a second app — Garmin Connect IQ — on the Google Play Store or iOS App Store. You can use Face it to create a custom watch face with your own personal photos or go into the IQ Store and find/download a watch face made by the Garmin community.
Set up Hot Keys
Most Garmin buttons have set shortcuts when you hold them down, like opening the music player after squeezing the bottom-left button. But you probably don’t know (I didn’t until very recently!) that there are six other shortcuts you can set up on a 5-button watch: Hold START, Hold BACK, START + Down, START + UP, BACK + LIGHT, and BACK + UP.
With any of these shortcuts, you can pull up a favorite feature immediately, instead of having to scroll through widgets or menus to find them. Go to Menu > System > Hot Keys to add your new shortcuts — I count 24 options on my Garmin Forerunner 965.
These are my personal favorite Hot Keys that I’d recommend adding to your watch:
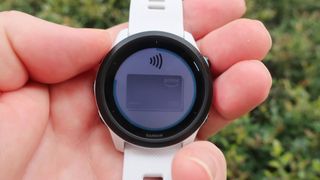
- Wallet: If you set up tap-to-pay, you want to pull up that option immediately instead of keeping the people behind you waiting as you swipe through submenus.
- Flashlight: Most Garmins don’t have a built-in flashlight like the Instinct 2X Solar, but this setting will make the screen 100% bright, helping you see your way in the dark in a pinch.
- Timers/stopwatch: These handy tools don’t need any explanation.
- Navigation: It’s nice to be able to pull up your current surroundings during a GPS-tracked activity; this only applies for watches with proper mapping, like a Garmin Fenix or the Forerunner 955.
- Brightness: As I mentioned before, you may want to keep your brightness low to save battery, but have the option to raise it quickly at any time.
As a side note, if your watch supports emergency assistance and you set it up, then you must hold the designated button for about seven seconds, after which, the watch will vibrate three times and your real-time location will be sent to your preloaded emergency contacts. You can’t change which button triggers this.
Use Find My Phone / Find My Watch
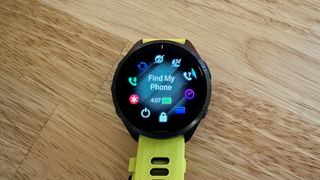
So long as your smartphone and Garmin watch are connected via Bluetooth, you can use either device to find the other. Garmin’s Find My feature isn’t nearly as robust as a Wear OS or Apple Watch since it depends on Bluetooth. But it’s still quite handy to have if you’re in a rush and your watch or phone is buried in the couch cushions.
On your watch, go to the Controls menu; hold the Light button on a 5-button watch or the Start button on a 2-button watch. Find My Phone is the icon with a phone and question mark; select it. Your phone should ring loudly, while your watch will display a colorful indicator showing how close you are to it.
In the Garmin Connect app, select the watch icon and scroll down to Find My Device. Your connected watch will vibrate until you dismiss the pop-up notification, helping you to track it down if it’s nearby.
Hopefully, these Garmin tips and tricks will help you get more use out of your new Garmin watch! Once you do the early work of getting everything set up, Garmin’s analytics and algorithms handle the rest, so you can just look at your wrist and see what kind of workout you should do next.
Not all Garmin watches share every feature. The more you pay, the more Garmin crams into the watch. So if you’re buying a top-end Forerunner watch or Fenix watch, you’ll want to go beyond what I listed above and really dive into menus and settings yourself, so you’re getting your money’s worth.
Now that you’re all set on your Garmin settings, it’s time to hit the track or trail and get moving! And even if you don’t use every Garmin trick in the book, it’s okay; we recently tested the Garmin Forerunner 265 against other brands for step count accuracy, and it outperformed the other brands.







Discussion about this post