Apple’s latest and greatest software update for Mac is out now. If you want to wait for it to automatically update, make sure your Mac is connected to power and be patient. If you just can’t wait for all of the new features, here’s how to update to the latest macOS version.
Supported computers
The macOS 13 Ventura update can be installed on all the best Macs, including the following:
- iMac (2017 and later)
- iMac Pro (2017 and later)
- MacBook (2017 and later)
- MacBook Air (2018 and later)
- MacBook Pro (2017 and later)
- Mac mini (2018 and later)
- Mac Pro (2019 and later)
- Mac Studio (2022)
What’s new in macOS?
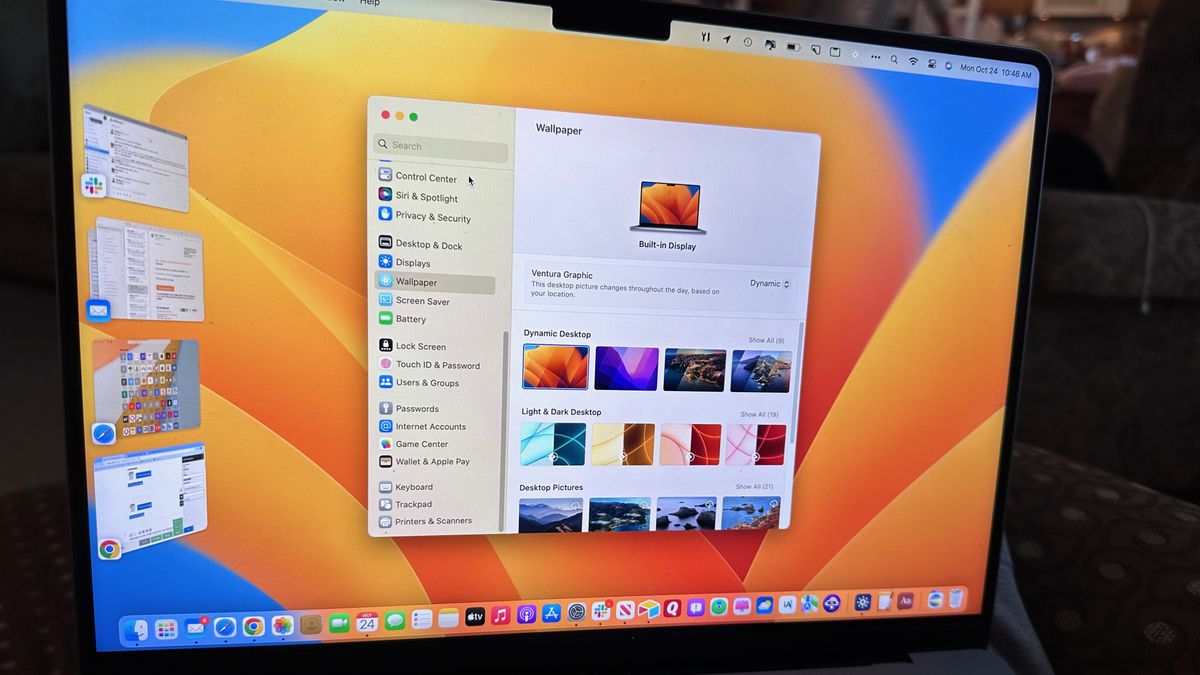
Apple has just released the first version of macOS 13 Ventura for the public. With macOS 13 Ventura, several new and updated features are worth considering. These include, but certainly aren’t limited to, Stage Manager, Clock and Weather Apps, new uses for Continuity Camera, and much more.
How to download and install macOS updates
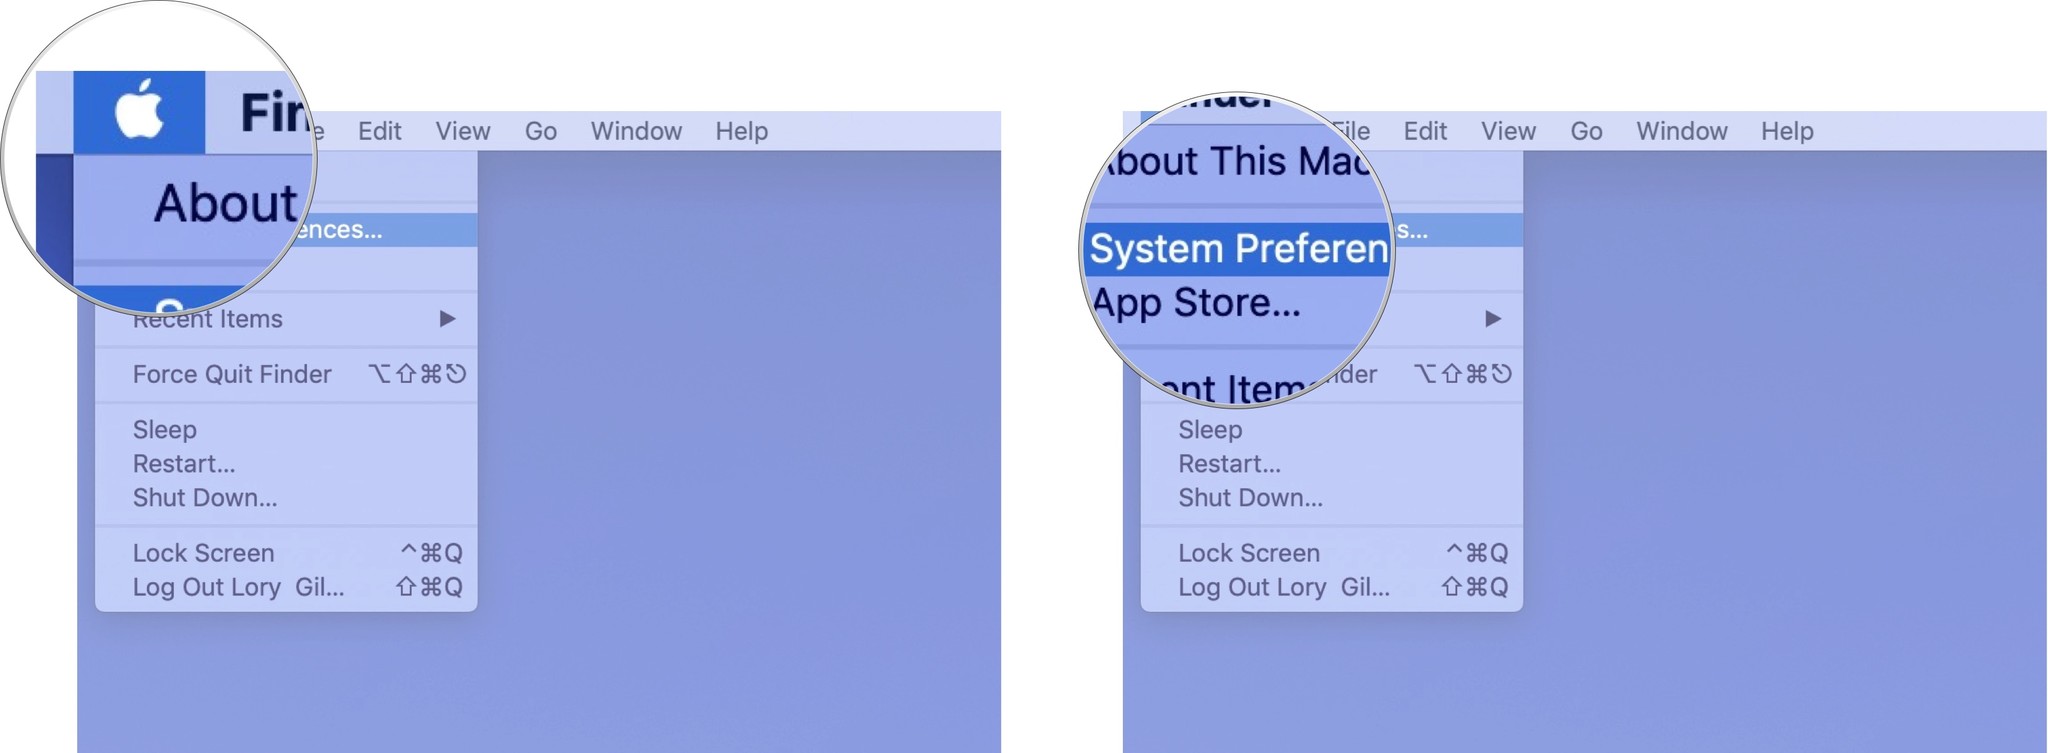
- Click on the Apple icon in the upper left corner of your Mac’s screen.
- Select System Preferences from the drop-down menu.
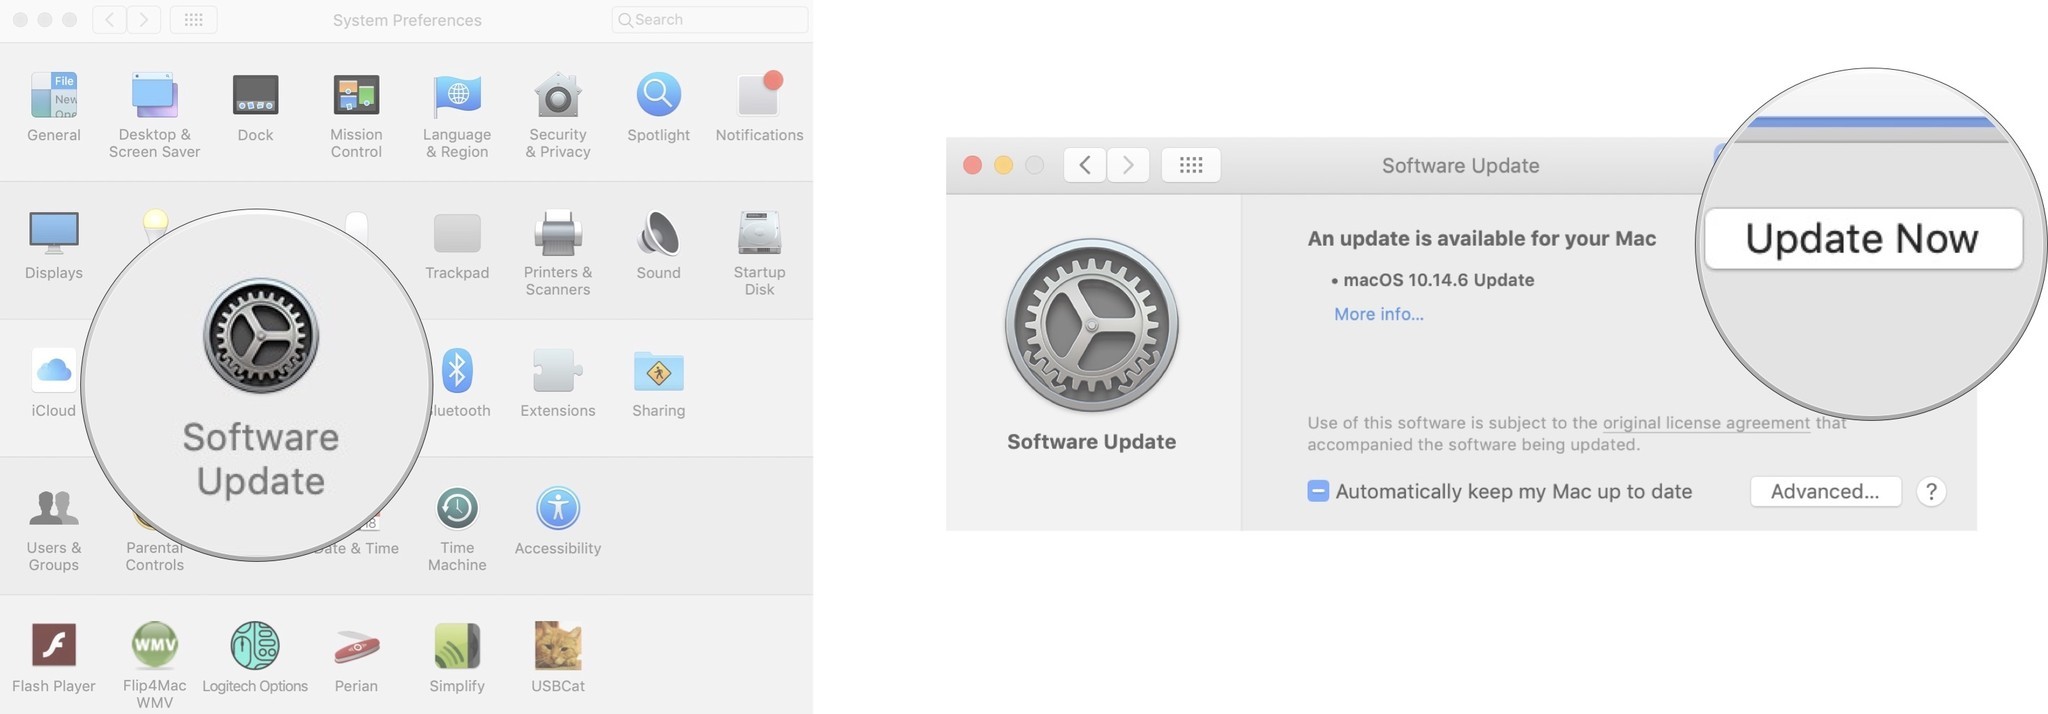
- Click Software Update.
- Click Update Now next to the macOS update.
- Your Mac will need to restart after the download has been installed, so make sure you save your progress for any program you are currently working in.

How to turn on automatic updates
You don’t have to manually update macOS every time a new one launches. You can turn on automatic updates and it will download in the background.
- Click on the Apple icon in the upper left corner of your Mac’s screen.
- Select System Preferences from the drop-down menu.

- Click Software Update.
- Tick the box for Automatically keep my Mac up to date.


Discussion about this post