

Written by Sneh Pandya
Firebase is a feature-rich suite of services provided by Google to enrich the mobile and web development experience. Firebase provides services that help developers build, manage and grow their apps with ease and efficiency. Little to no programming configuration is required to implement the components, which is a huge advantage when working with Firebase.
Firebase allows developers to add a vast variety of services into their apps. Some of the most popular services are:
-
Cloud Messaging
-
Cloud Firestore
-
Crashlytics
-
App distribution
-
Machine learning
-
Hosting
Firebase natively supports Android, iOS, web, Unity and even Google’s chatbot building service named Dialogflow.
In this article, we will learn how to use Firebase for Android in React Native projects and publish the app using CI/CD via Codemagic.
Integrate Firebase into your app
To start integrating Firebase into our app, we require the following:
-
Access to the Firebase Console linked with a Google account
-
A React Native project in which Firebase services will be added
-
A completed environment setup for the React Native project focusing on Android
In this article, we will use the ReactNativeFirebaseApp to set up Firebase services related to Android in our React Native app. Similar setup steps can be followed for the Android version of the React Native app.
Set up a new project on Firebase Console
Follow the steps below to create a new project in the Firebase Console:
-
Go to the Firebase Console, and log in with your preferred Google account.
-
Click on the Add project button.
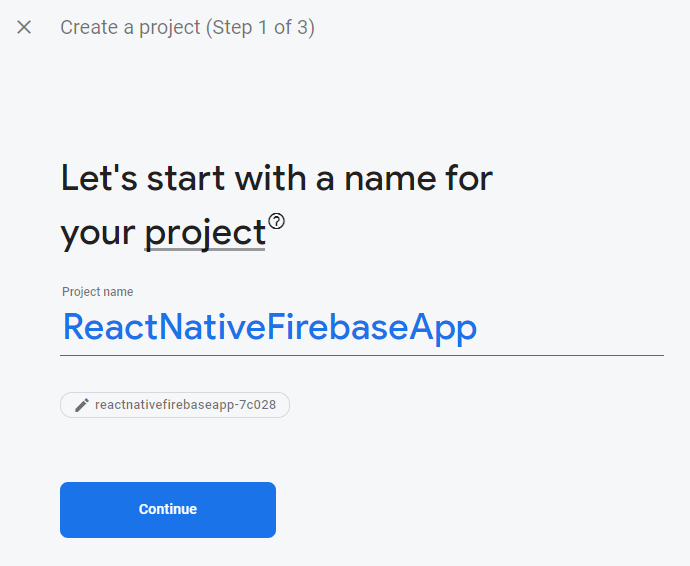
- Enter your preferred Project name, and click on Continue.
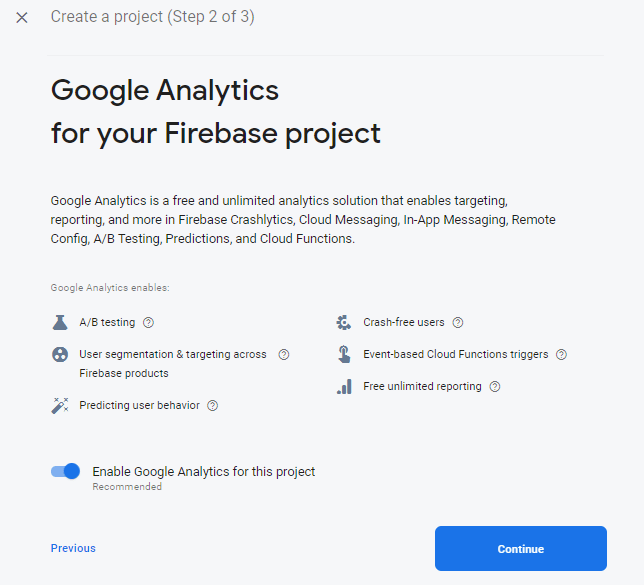
- We will set up Crashlytics for our React Native app for Android in this article. Crashlytics requires Google Analytics to be enabled to collect data, so keep Google Analytics for this project enabled, and click Continue.
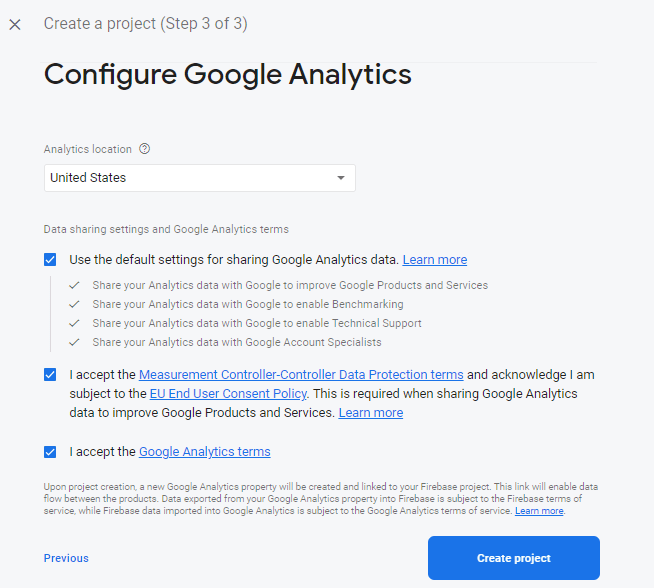
- Select your home country or the country where your organization is located. The country selection does not affect how Google processes and collects the data. Click on Create project.
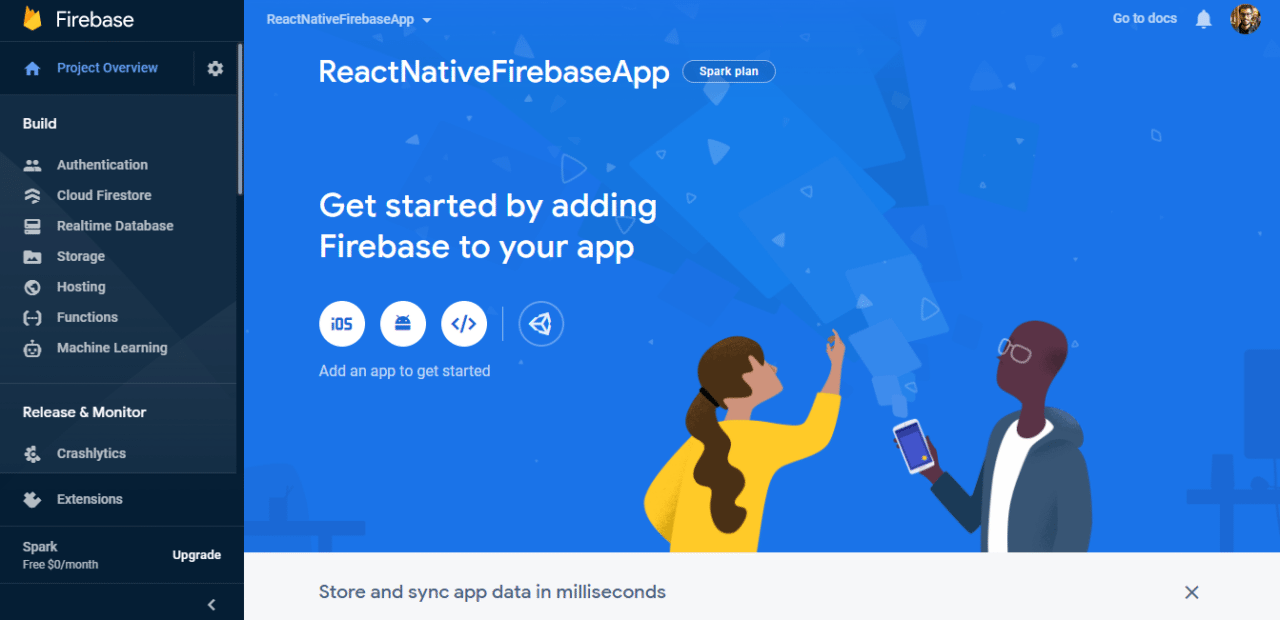
- Let the project setup complete. Once done, you will see a completion status like below. Click on Continue.
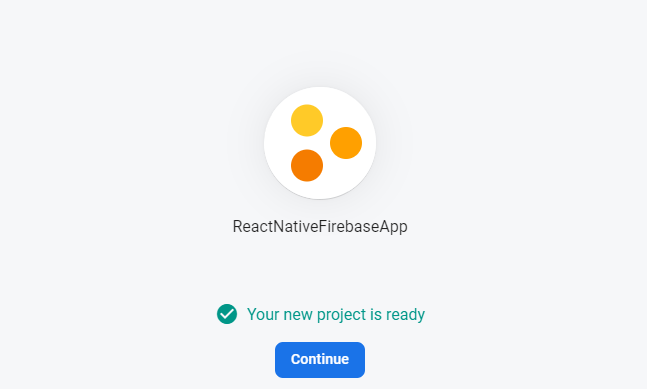
You will be redirected to the Firebase project dashboard.
Set up a new React Native application
Now, let’s add our Android app configuration to the Firebase project. React Native creates directories for both Android and iOS, labeled as android and ios, respectively.
To complete the Firebase setup for Android in React Native apps, you need to follow platform-specific steps. There are two ways to add Firebase to a React Native project:
-
Using Firebase Web SDK
-
Using react-native-firebase
To create a new application, run the commands below:
npm install -g expo-cli // To add Expo CLI on your machine

npx react-native init ReactNativeFirebaseApp // To set up a new React Native app

cd ReactNativeFirebaseApp
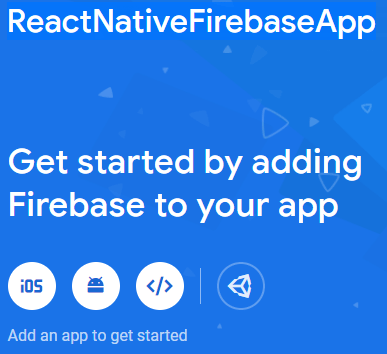
- On the Firebase Project Dashboard, click on the Android icon.
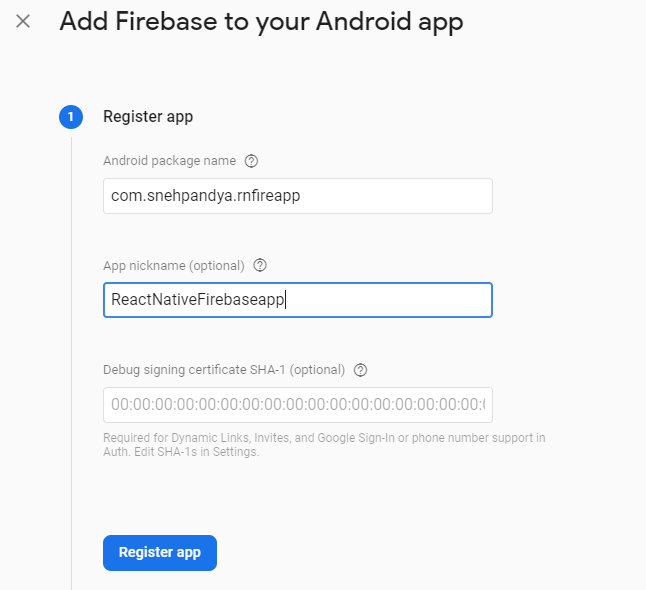
- You will be asked to fill in the details for your app, among which only Android package name is mandatory for now. You can get the package name of the Android app from Android Studio. Open the
androiddirectory in Android Studio, then click on the Project Files section in the top-left corner, and navigate to app. Then open thebuild.gradlefile. Copy theapplicationIdfrom the app-levelbuild.gradlefile.
In our case, it’s com.snehpandya.rnfireapp. Enter the details in the Firebase Console, and click on Register app.
- The debug signing certificate SHA1 is optional, but it is required for Dynamic Links, Invites and Phone Authentication. To generate a certificate, run the commands below, and copy the SHA1 from the debug key.
cd android && ./gradlew signingReport
This generates two variant keys. You can copy the SHA1 that belongs to the debugAndroidTest variant key option.
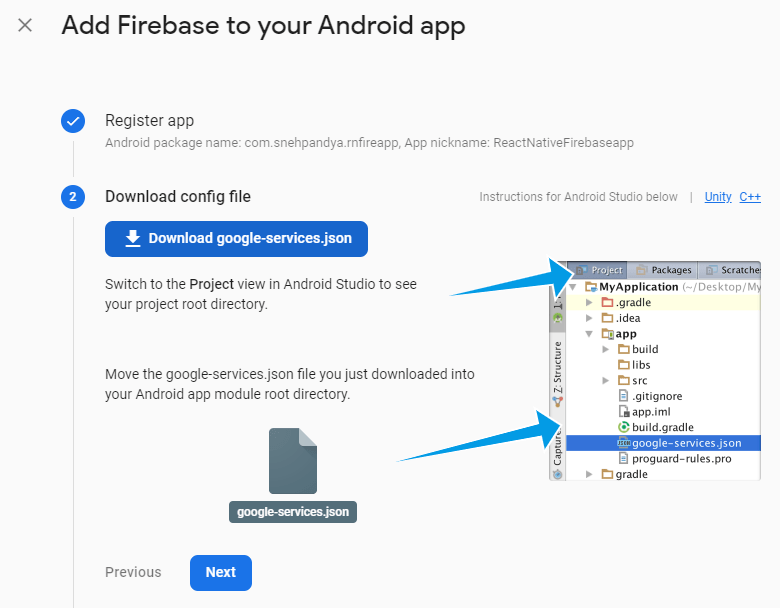
- In the next step, download the
google-services.jsonfile provided by Firebase, and put it in the Android app directory.
- For an Android app setup, Firebase walks you through a few more steps. In the
/android/build.gradlefile, add the Google Services dependency:
buildscript {
  repositories {
    // Check that you have the following line (if not, add it):
    google()  // Google's Maven repository
  }
  dependencies {
    ...
    // Add this line
    classpath 'com.google.gms:google-services:4.3.4'
  }
}

allprojects {
  ...
  repositories {
    // Check that you have the following line (if not, add it):
    google()  // Google's Maven repository
    ...
  }
}
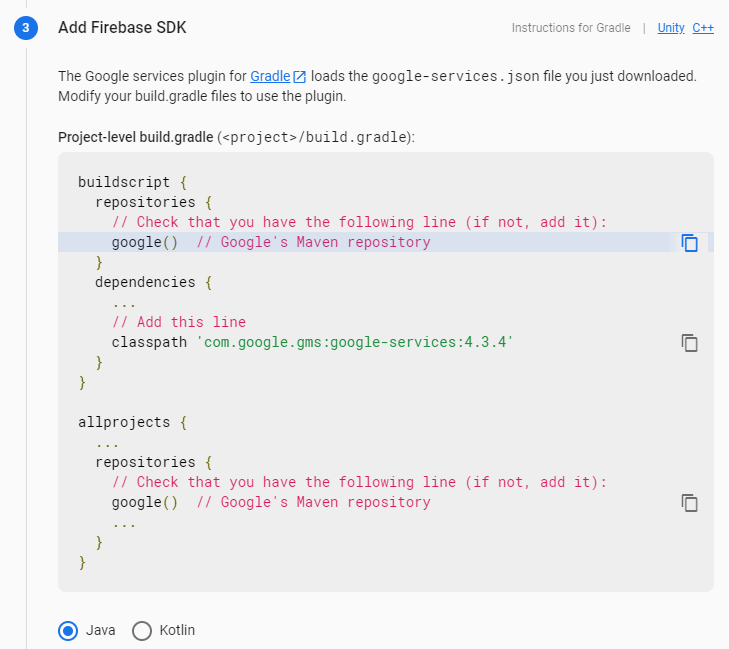
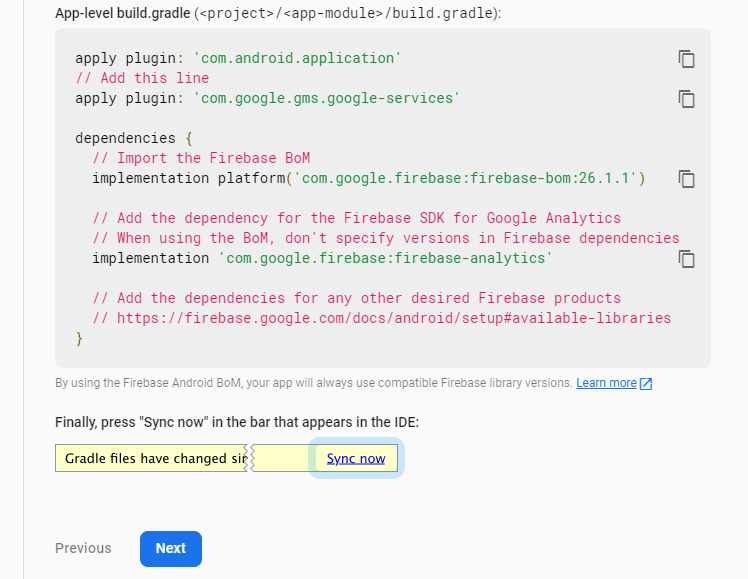
In the /android/app/build.gradle file, add the Firebase and Google Services dependencies:
apply plugin: 'com.android.application'
// Add this line
apply plugin: 'com.google.gms.google-services'

dependencies {
  // Import the Firebase BoM
  implementation platform('com.google.firebase:firebase-bom:26.1.1')

  // Add the dependency for the Firebase SDK for Google Analytics
  // When using the BoM, don't specify versions in Firebase dependencies
  implementation 'com.google.firebase:firebase-analytics'

  // Add the dependencies for any other desired Firebase products
  // https://firebase.google.com/docs/android/setup#available-libraries
}
Then click on Sync now to build dependencies for your Android project. After that, in the Firebase Console, click on Next.
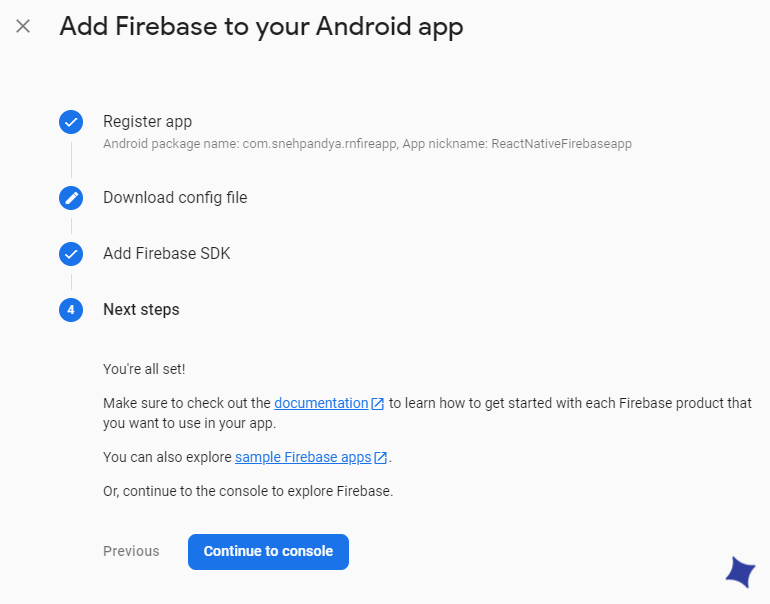
- Then click Continue to console.
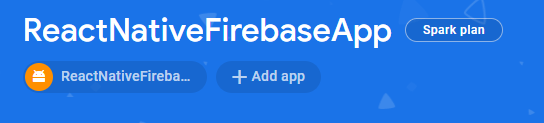
- Once redirected, on the Firebase Console dashboard, you will see that the Android version of your React Native app has been added to the Firebase.
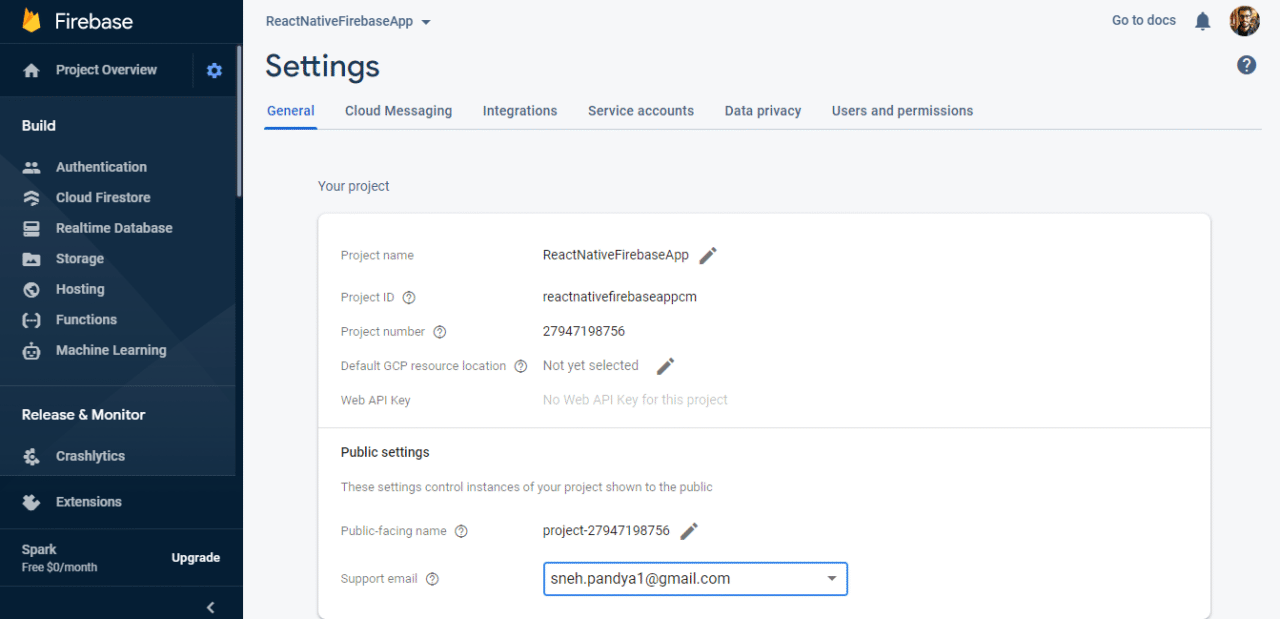
- Now, click the gear icon beside Project Overview, then click Project Settings. Then navigate to the General tab, and enter your email in the Support email field.
Add Crashlytics to your React Native app
The Firebase SDK is used to connect and implement Firebase APIs in our React Native app. You can find a full list of available Firebase services and platform-specific documentation on the Firebase Documentation page.
To configure Firebase services in our React Native app:
-
Open the
android/folder in Android Studio. -
Add the Firebase Crashlytics dependency to the root-level
build.gradlefile, as shown below:
// ..
buildscript {
  // ..
  dependencies {
    // ..
    classpath 'com.google.firebase:firebase-crashlytics-gradle:2.4.1'
  }
  // ..
}
- Add the Firebase Crashlytics dependency to the app-level
build.gradlefile, as shown below:
apply plugin: 'com.android.application'
apply plugin: 'com.google.gms.google-services' // apply after this line
apply plugin: 'com.google.firebase.crashlytics'
// ..

android {
    defaultConfig {
        // ..
        multiDexEnabled true // Enable Multidex
    }
}

dependencies {
    // Multidex
    implementation 'androidx.multidex:multidex:2.0.1'

    // Firebase
    implementation platform('com.google.firebase:firebase-bom:26.1.0')
    implementation 'com.google.firebase:firebase-crashlytics'
    implementation 'com.google.firebase:firebase-analytics'
}
-
Now, click Sync now to sync newly added dependencies for the Android app.
-
To access and use the Firebase SDK configuration on Android, add the following code snippet to the application startup in your Application class file:
import com.google.firebase.crashlytics.FirebaseCrashlytics

class RNFirebaseApplication : MultiDexApplication() {

    override fun onCreate() {
        super.onCreate()
        FirebaseCrashlytics.getInstance()
                .setCrashlyticsCollectionEnabled(true)
    }
}
- Alternatively, you can add it to the React Native
srcfolder. Install the Firebase dependencies to your app:
npm install @react-native-firebase/app
npm install @react-native-firebase/crashlytics
Then add the Firebase declaration in the App.js file:
import crashlytics from '@react-native-firebase/crashlytics';

export default function App() {
  useEffect(() => {
    crashlytics().log('App started.');
  }, []);
}
Set up Firebase for Codemagic
Codemagic is a popular CI/CD solution for all types of mobile apps, including React Native. You can easily set up your React Native apps with minimal steps on the platform to automate your continuous integration and continuous delivery pipelines. If you are new to Codemagic, you can read the Getting Started guide.
Our app is now configured with Firebase Crashlytics. Next, we will configure our React Native project on Codemagic. Before we proceed, it is crucial to keep the privacy and security of our confidential keys intact.
While setting up Firebase for our project, we downloaded the google-services.json file and kept it in the local app directory. This file includes sensitive configuration data and API keys for Firebase to verify and communicate with our app. For this reason, it should not be exposed, and hence, we will exclude it from our version control system like Git.
In the root directory of our project, open the .gitignore file, and add the exclusion to prevent the file from being tracked or committed by the version control system:
android/app/google-services.json
After successfully excluding the file, we still need the credentials for successful build generation on Codemagic. In order to provide them, we will upload an encrypted version of the file on Codemagic, which will be securely decrypted during build generation. The credentials will be wiped from Codemagic machines after the build is complete.
Follow the steps below to provide the encrypted version of the file:
-
Navigate to your project on the Codemagic dashboard.
-
Choose the React Native build type for your app.
-
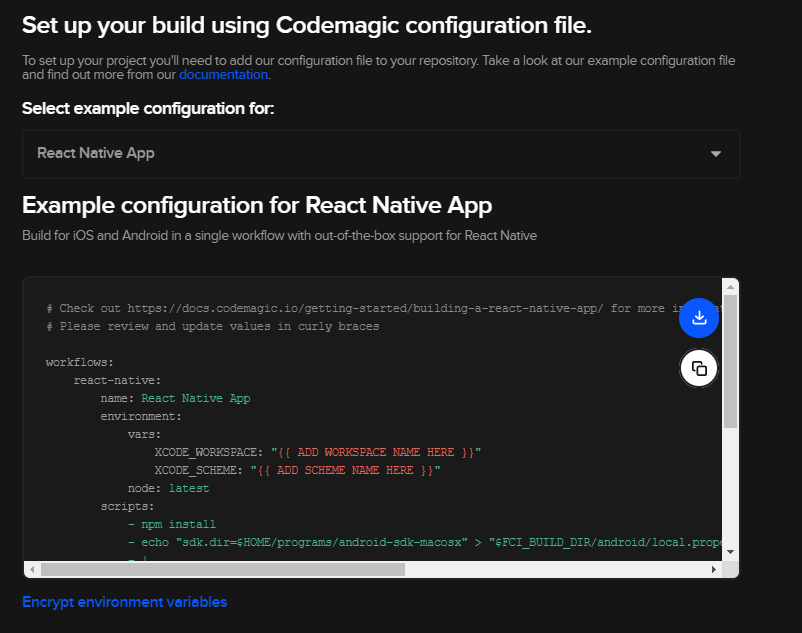
You will be shown the build configuration page, as shown below. Click on Encrypt environment variables at the bottom of the page.
- Drag and drop or upload the
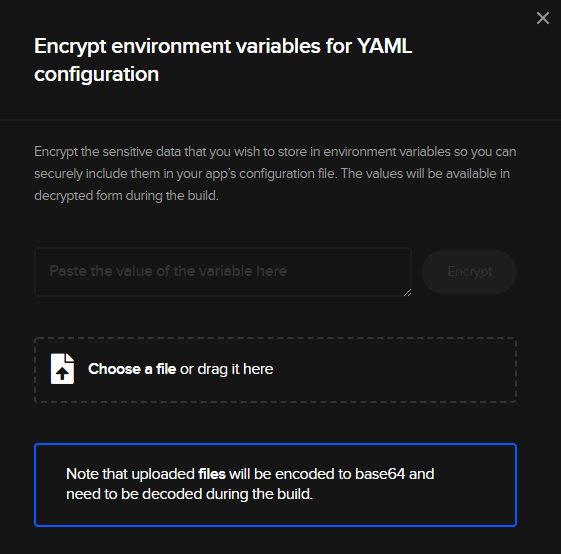
google-services.jsonfile in the dialog. It will now generate an encrypted version of your file. Copy the encrypted string.
-
Download the
codemagic.yamlfile in the root directory of your project and review it. -
Add the copied encrypted string as shown below under the
scriptsblock in thecodemagic.yamlfile:
echo $ANDROID_FIREBASE_CONFIG | base64 --decode > $CM_BUILD_DIR/android/app/google-services.json
This script will decode the base64 string to make use of the configuration and API keys during the build.
-
Commit the
codemagic.yamlfile to the version control system. Then click on Check for configuration file. -
Now, click on Start new build to build the app.
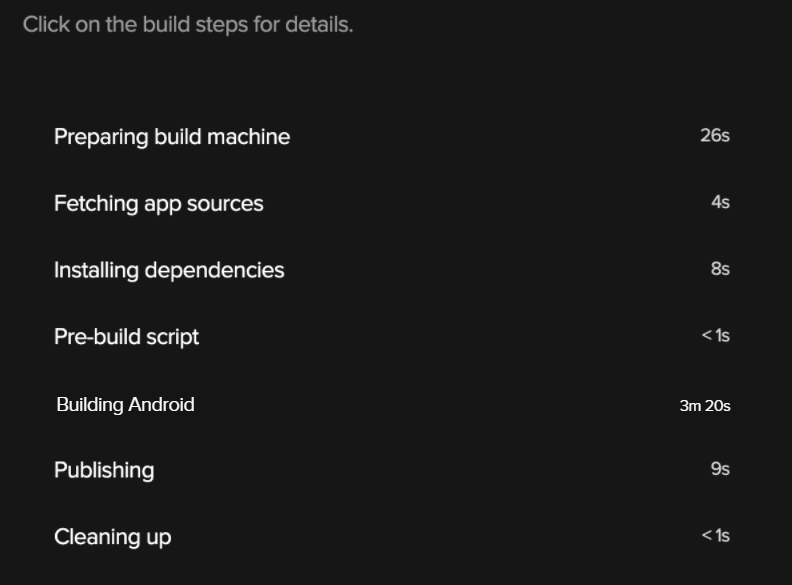
We have successfully completed the setup and configuration of our React Native app for Android with Firebase on Codemagic CI/CD.
Conclusion
React Native and Firebase are both popular, robust and easy to use. Combining them with the Codemagic CI/CD service will enhance your experience of building, deploying and publishing apps for your end-users.
Useful links and references
-
Practical guides on Firebase with Flutter for iOS and Android on Codemagic can be found here and here.
-
Learn how to load Firebase config in Codemagic with environment variables here.
-
Here’s a guide on Continuous Integration and Delivery for React Native apps.
-
Here’s a guide on how to develop and distribute iOS apps without Mac with React Native and Codemagic.
-
A guide on app distribution using the Gradle plugin in Codemagic can be found here.
-
A guide on Firebase app distribution using CLI can be found here.
Sneh is a Senior Product Manager based in Baroda. He is a community organizer at Google Developers Group and co-host of NinjaTalks podcast. His passion for building meaningful products inspires him to write blogs, speak at conferences and mentor different talents.
You can reach out to him over Twitter (@SnehPandya18) or via email (sneh.pandya1@gmail.com).


Discussion about this post